
“Flowers appear on the earth; the time of singing has come,”
Song of Solomon 2:12a KJV
This verse talks about when the flowers bloom in spring, and the smell and sounds of life can be felt throughout the land. We can remember this whenever we have experienced extreme challenges or natural calamities. This verse reminds us that there is life and light after every storm.
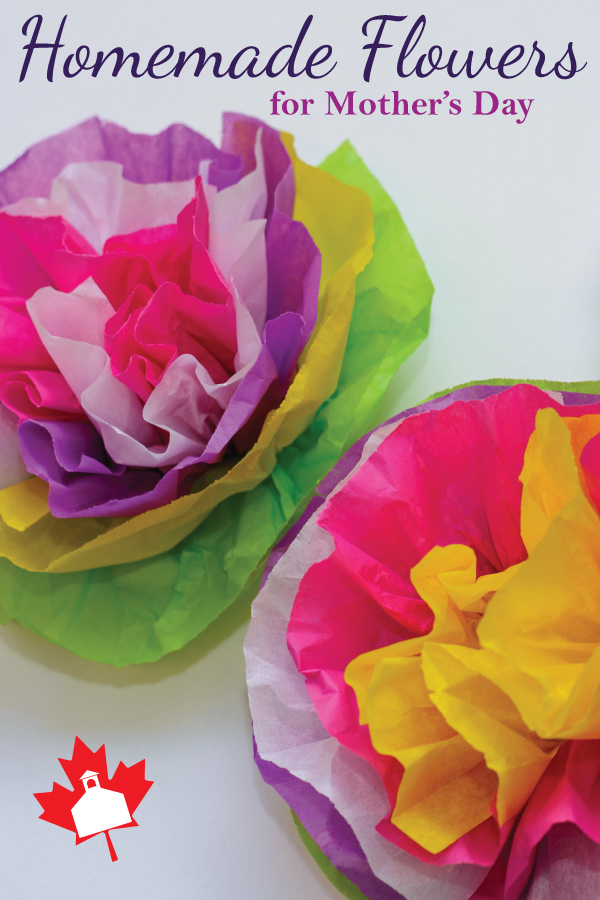
Mother’s Day is a chance to refresh and find encouragement. You can help brighten mom’s day by creating a beautiful bouquet this Mother’s Day with this easy craft. All you need is a few simple items, and you’ll have a gift ready to give.
Moms, you might want to stop reading here! Print this paper and casually put it on your husband's desk or night table or leave it out where an older child can find it. (wink, wink)
Items Needed:
- Tissue paper (pick mom’s favourite colours)
- Green pipe cleaners
- Toilet paper roll or half of a paper towel roll
- Construction paper
- Scissors
- Glue or tape
- Markers/Crayons
- Stickers (optional)
Instructions for flowers:
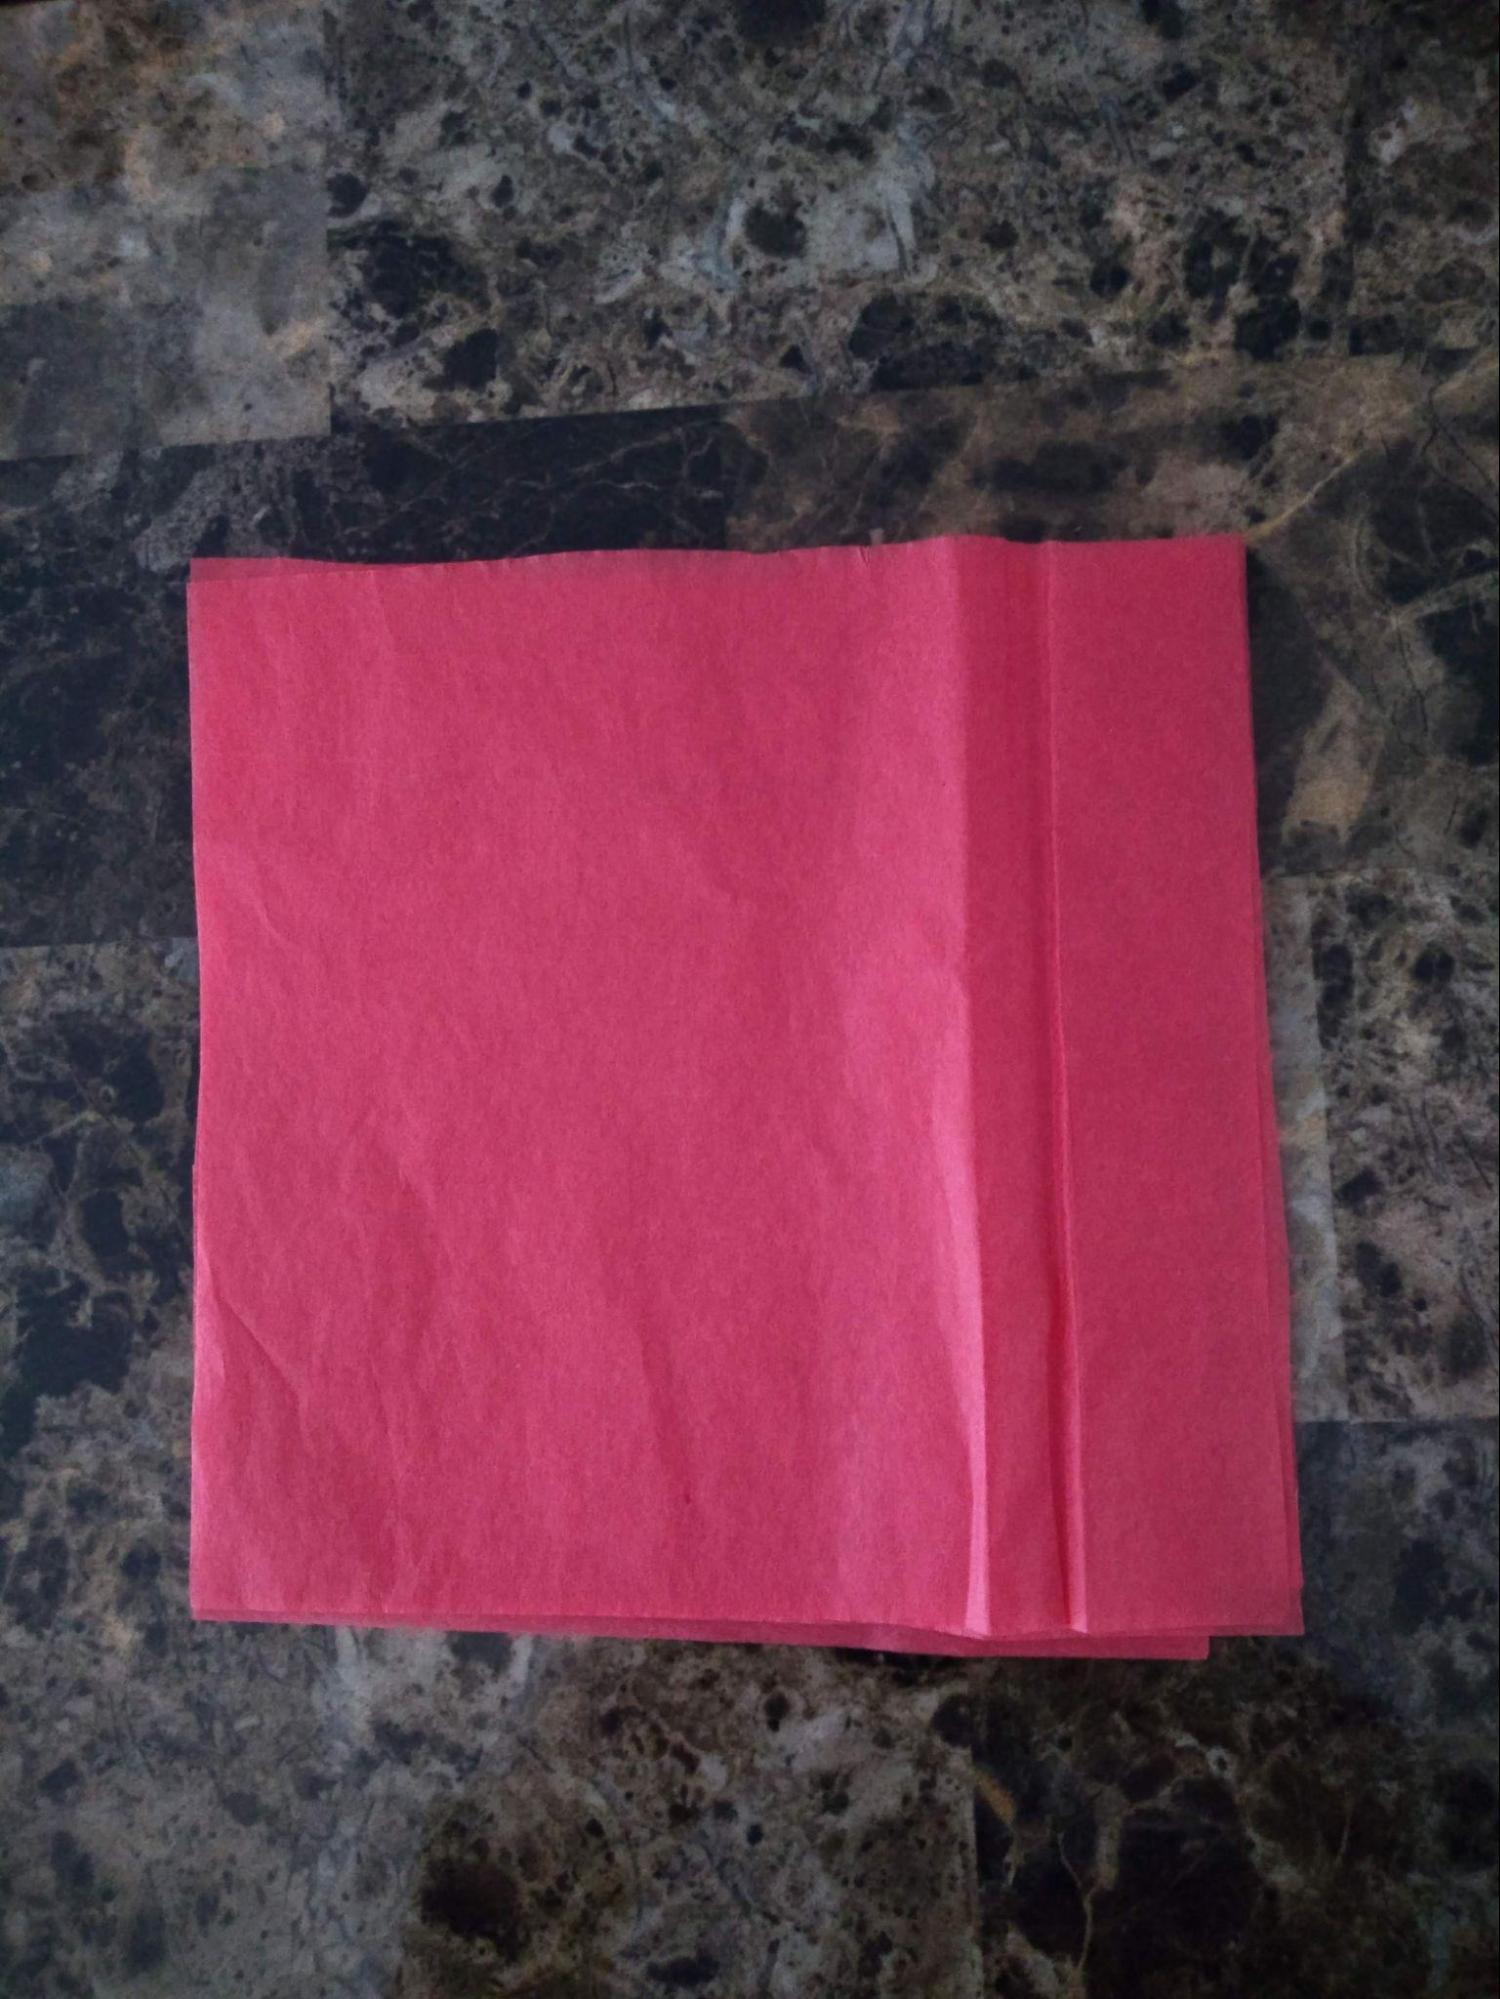
- Cut the paper into 6x6 inch squares.
- Gather the squares into one even pile. (Alternate the colours if you choose different colours.)
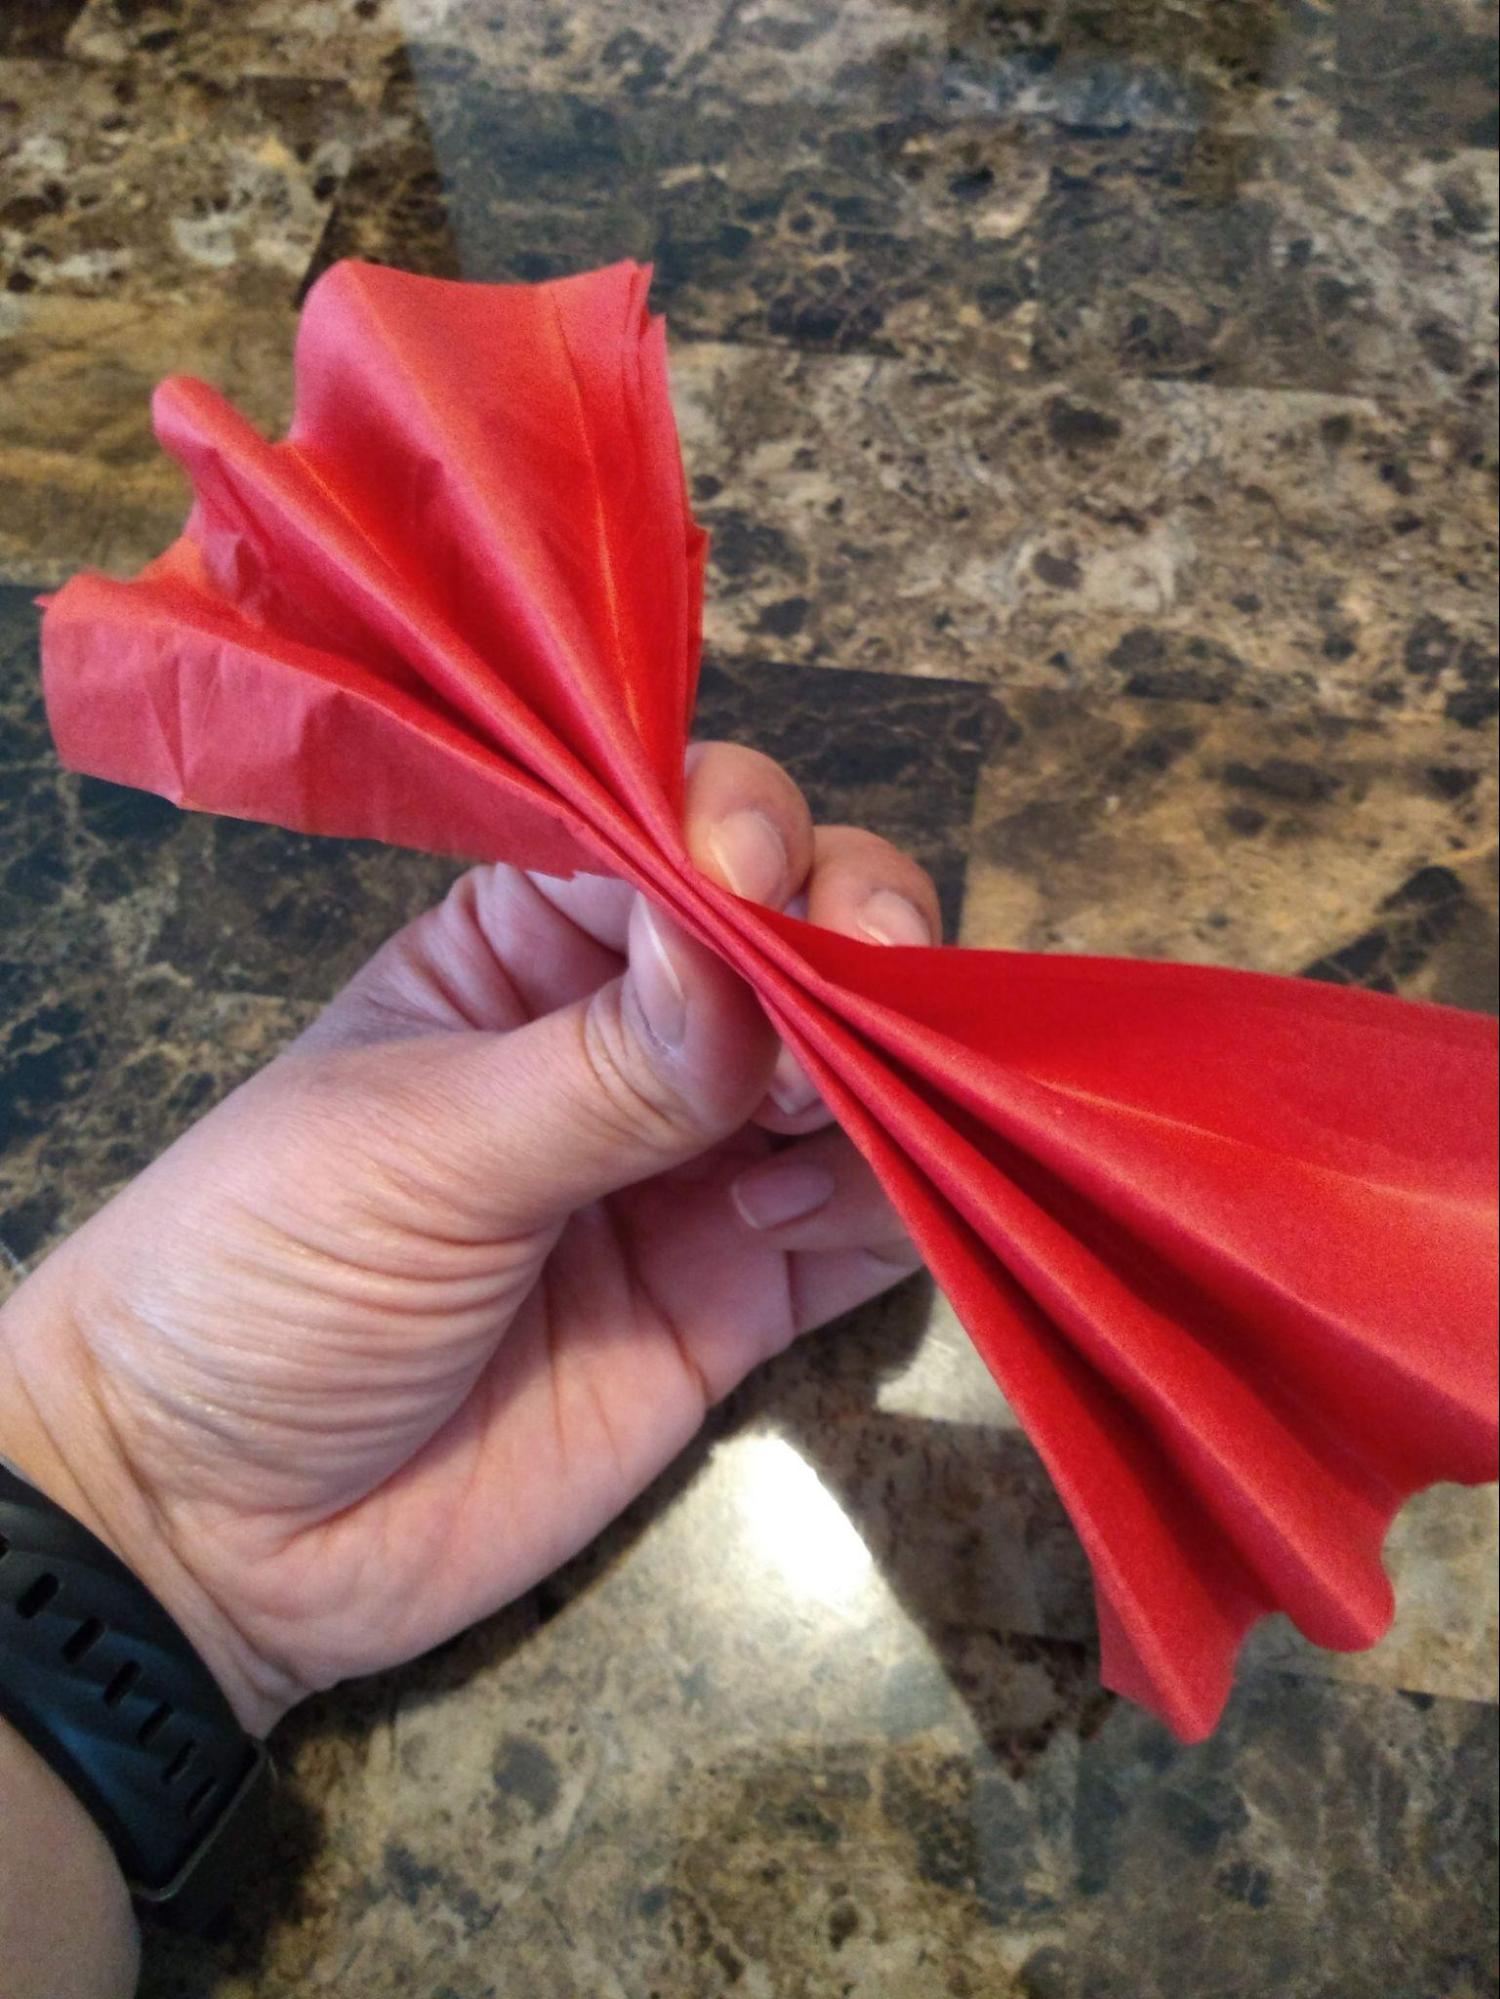
- From one end, start folding accordion style (each fold about ½ inch).
- Fold all the way to the other end.
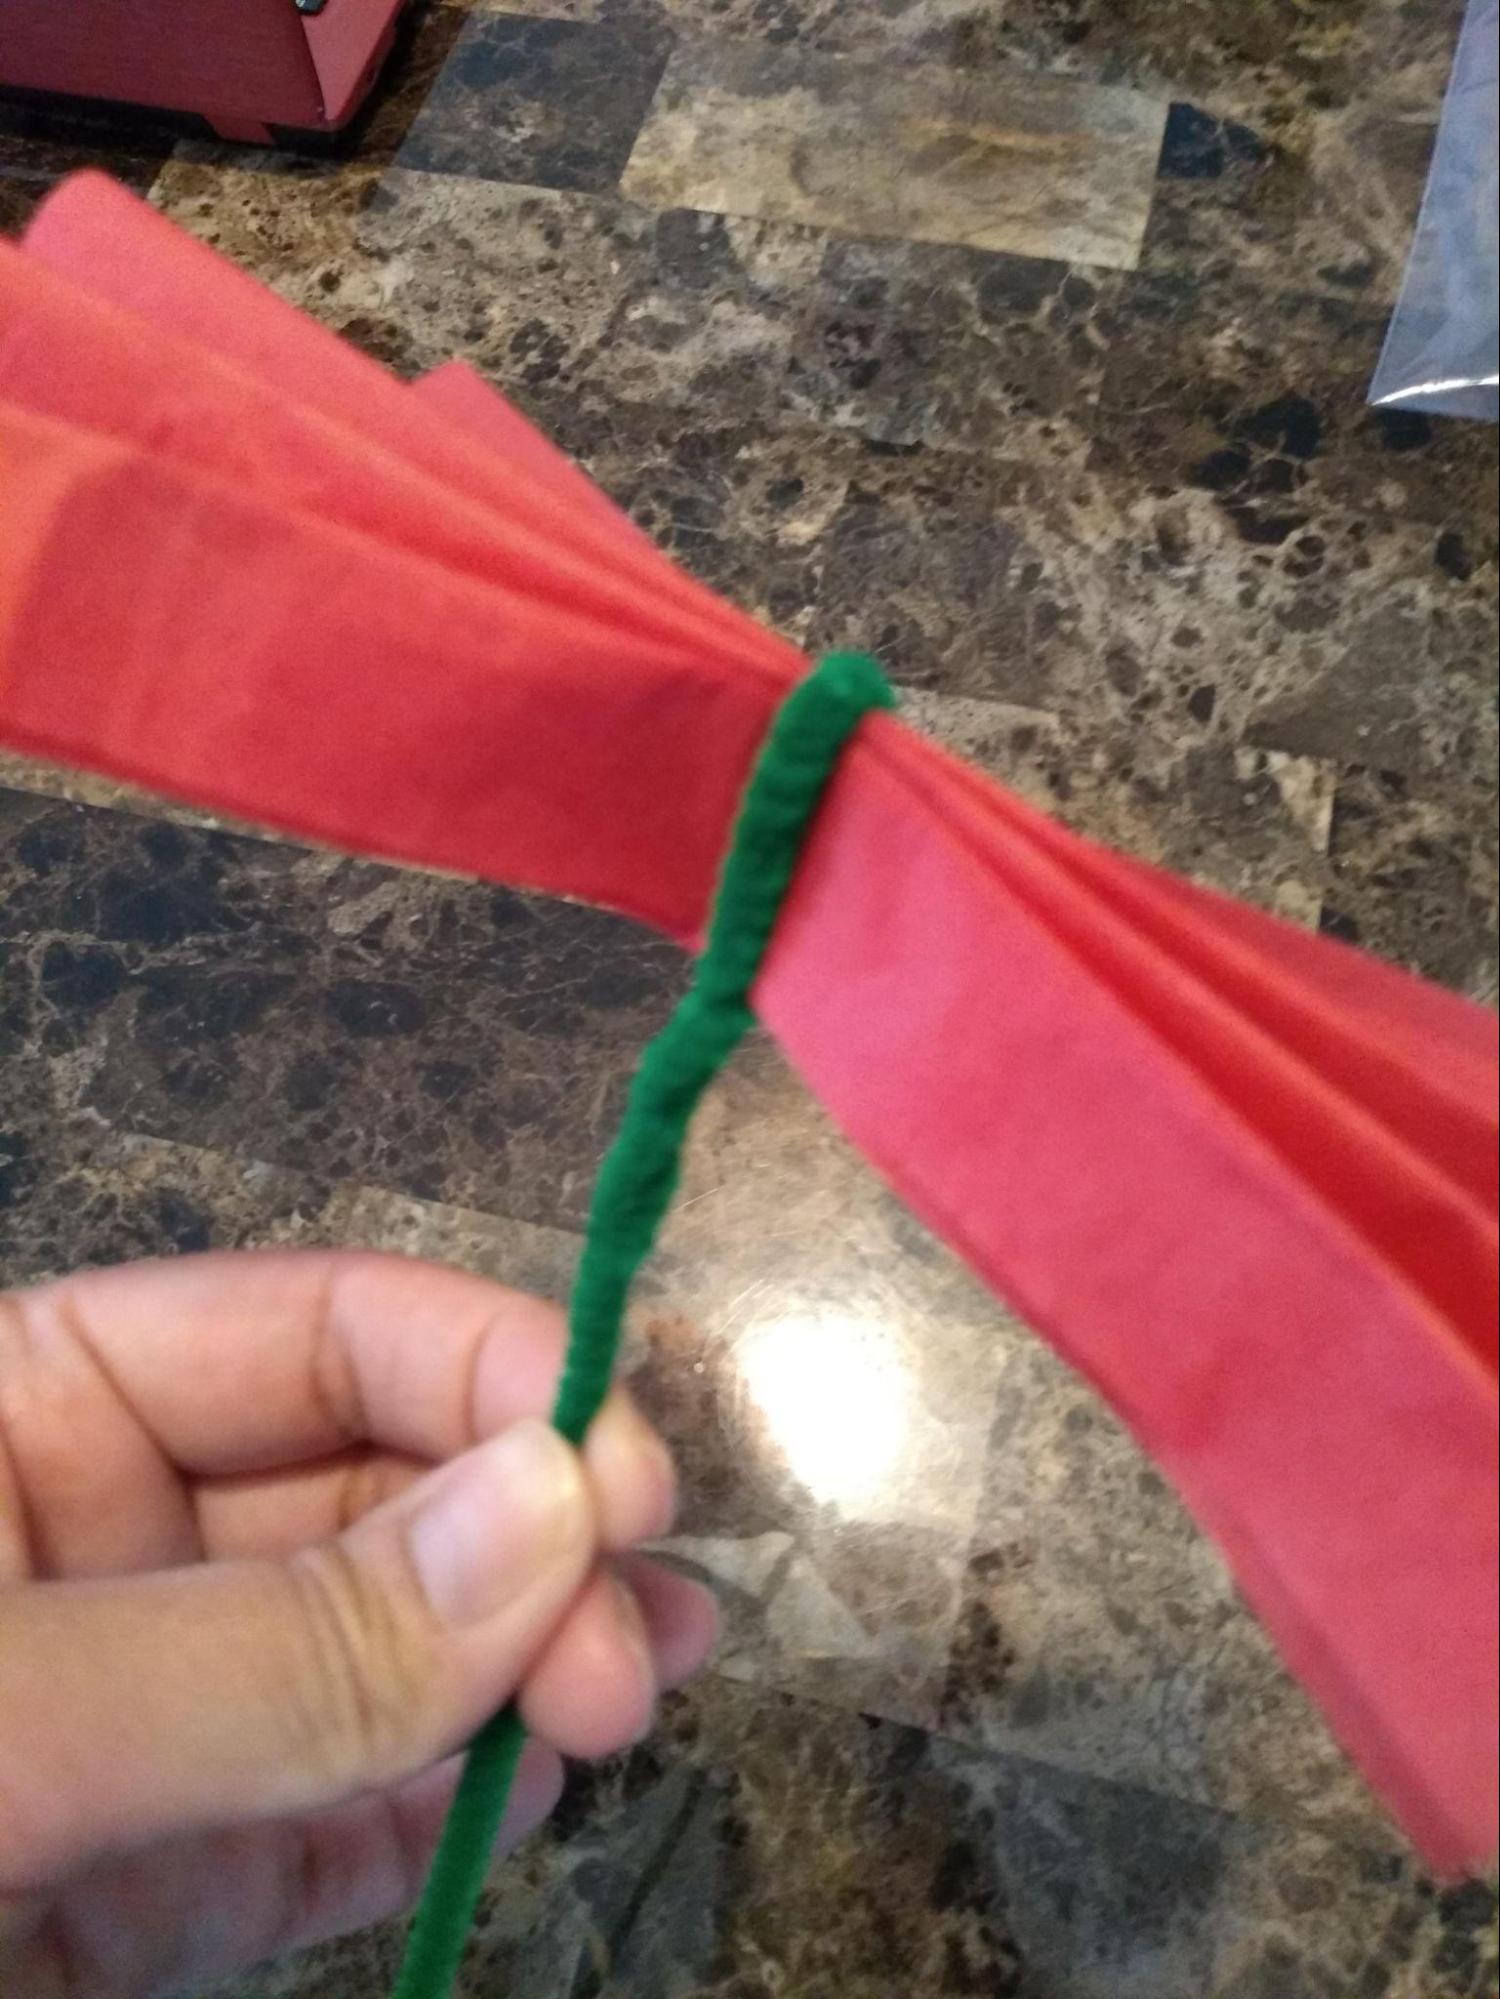
- Keeping the fold flat, grab a pipe cleaner and wrap around the centre.
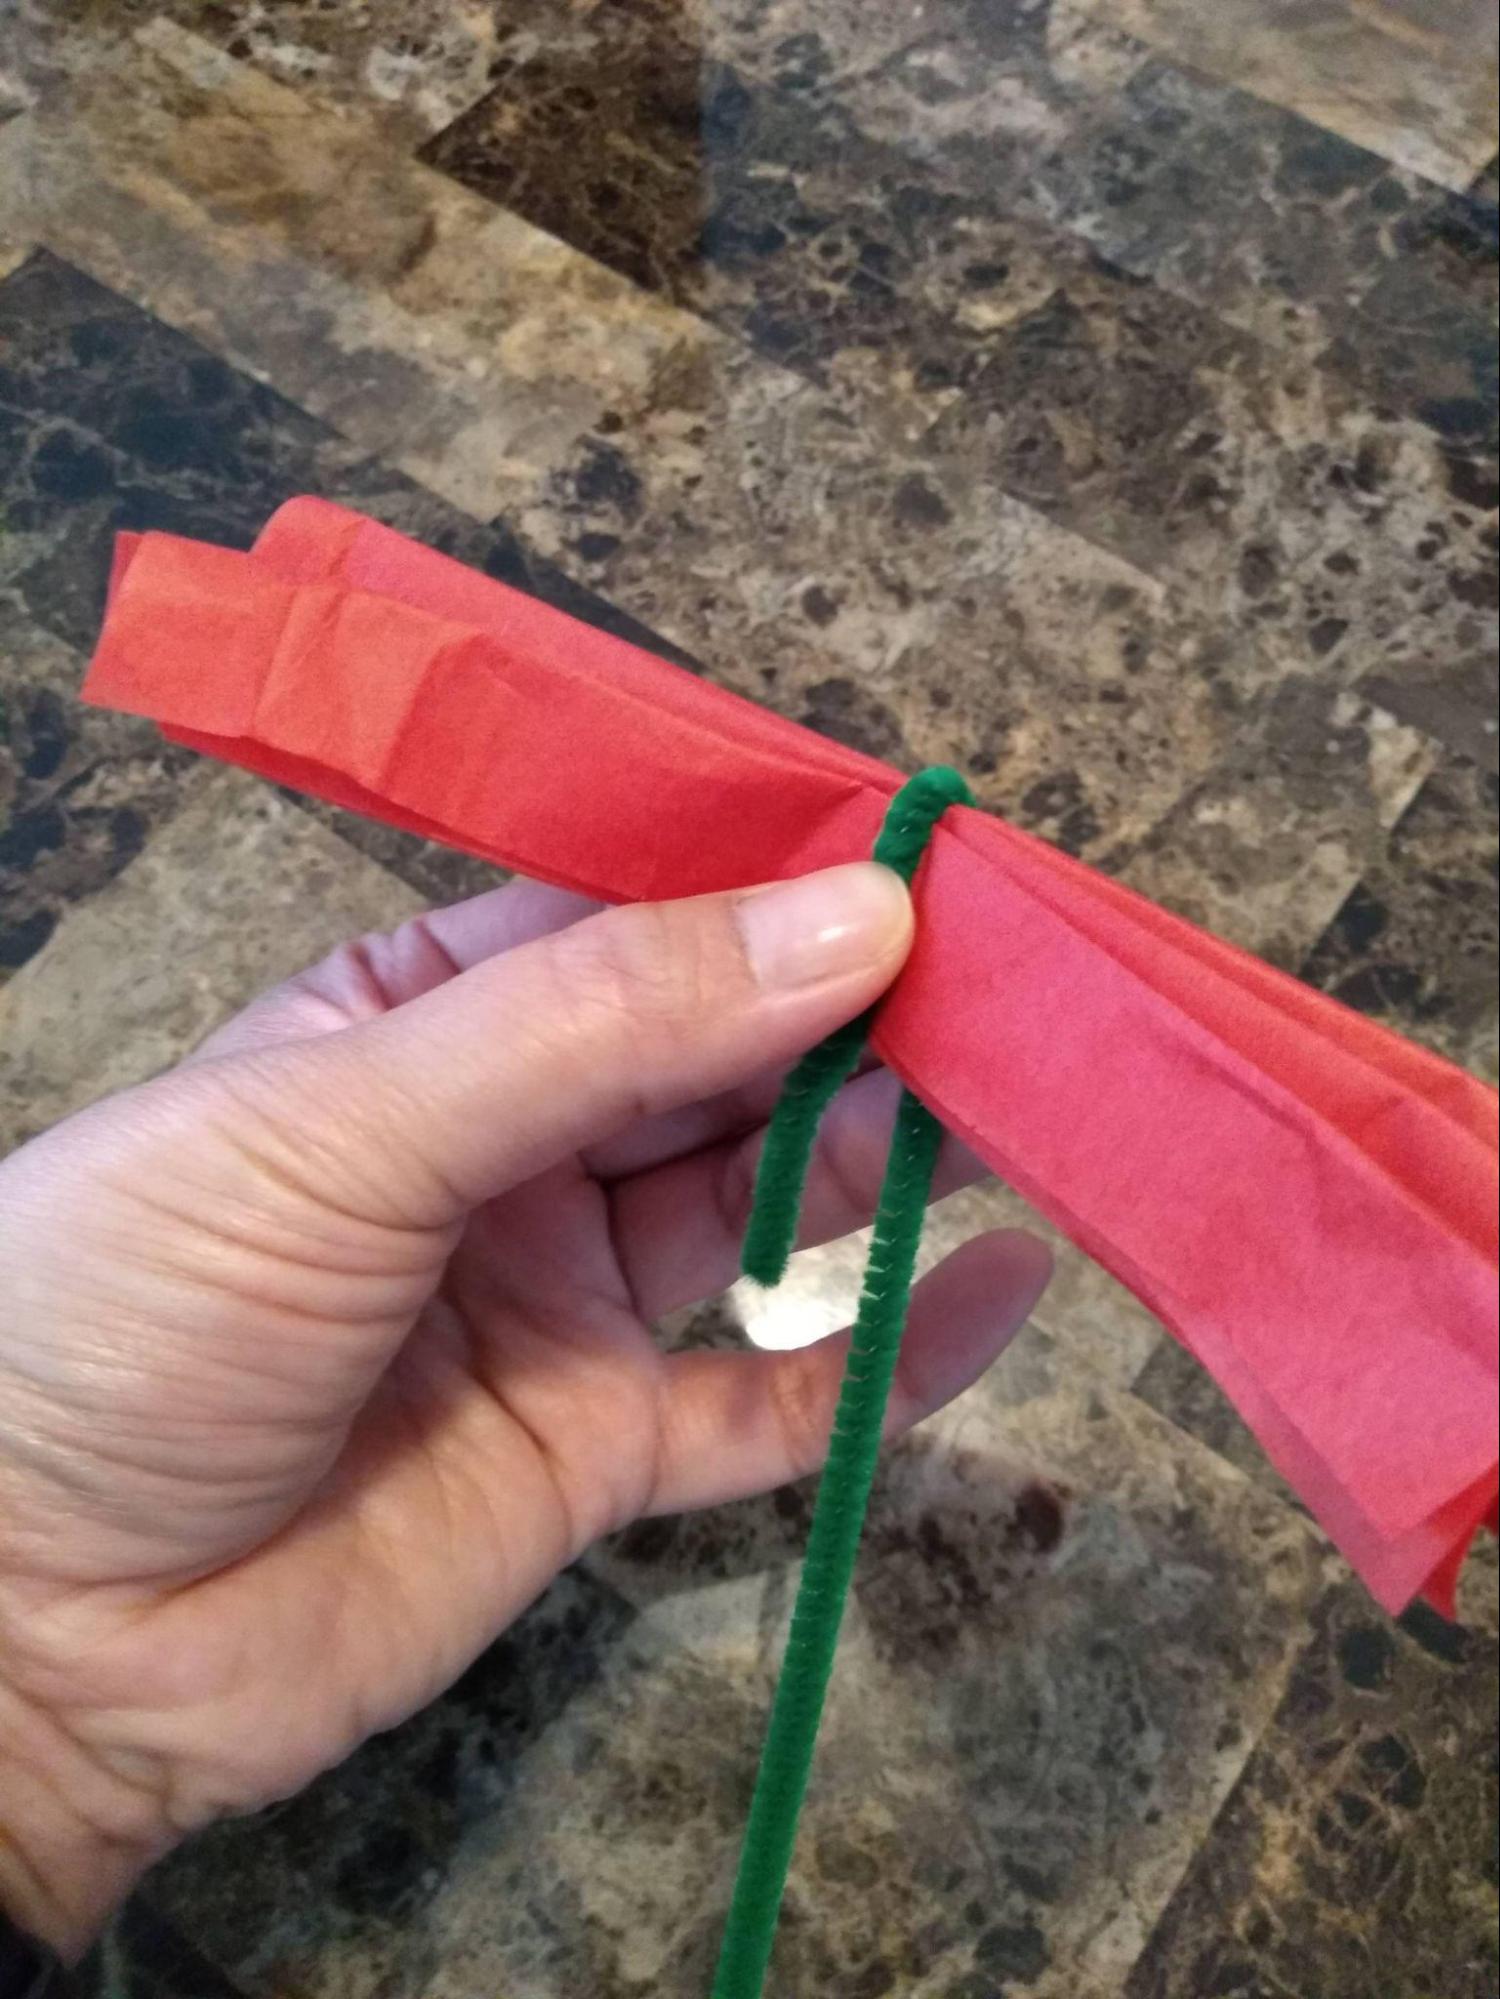
- Twist the pipe cleaner to lock into place.
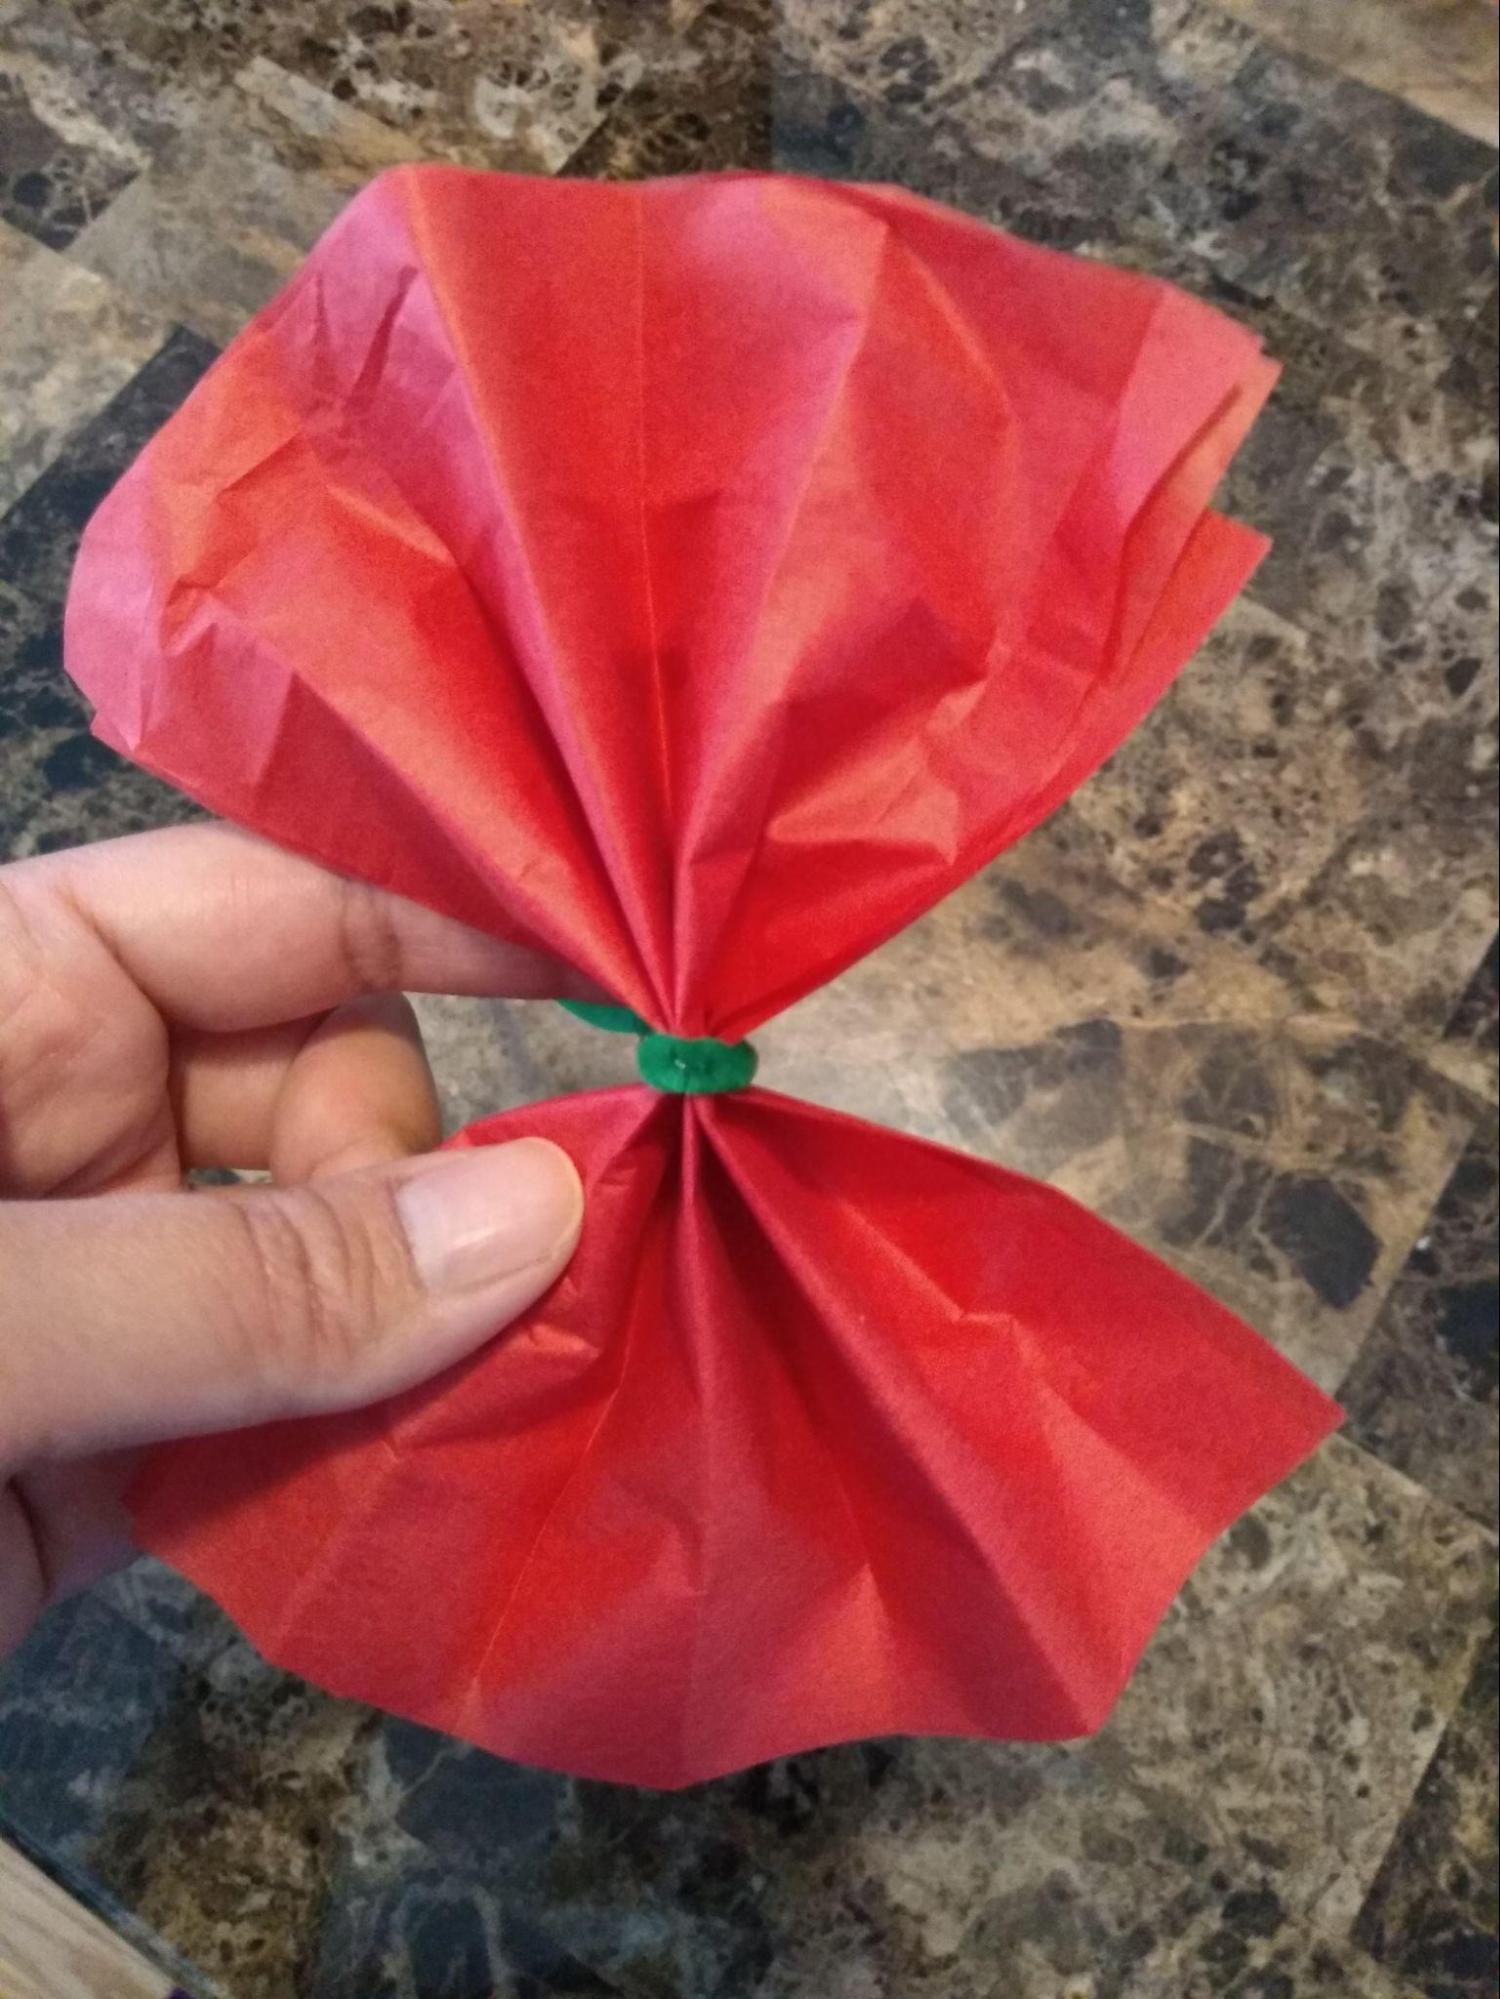
- Open up the fan of paper.
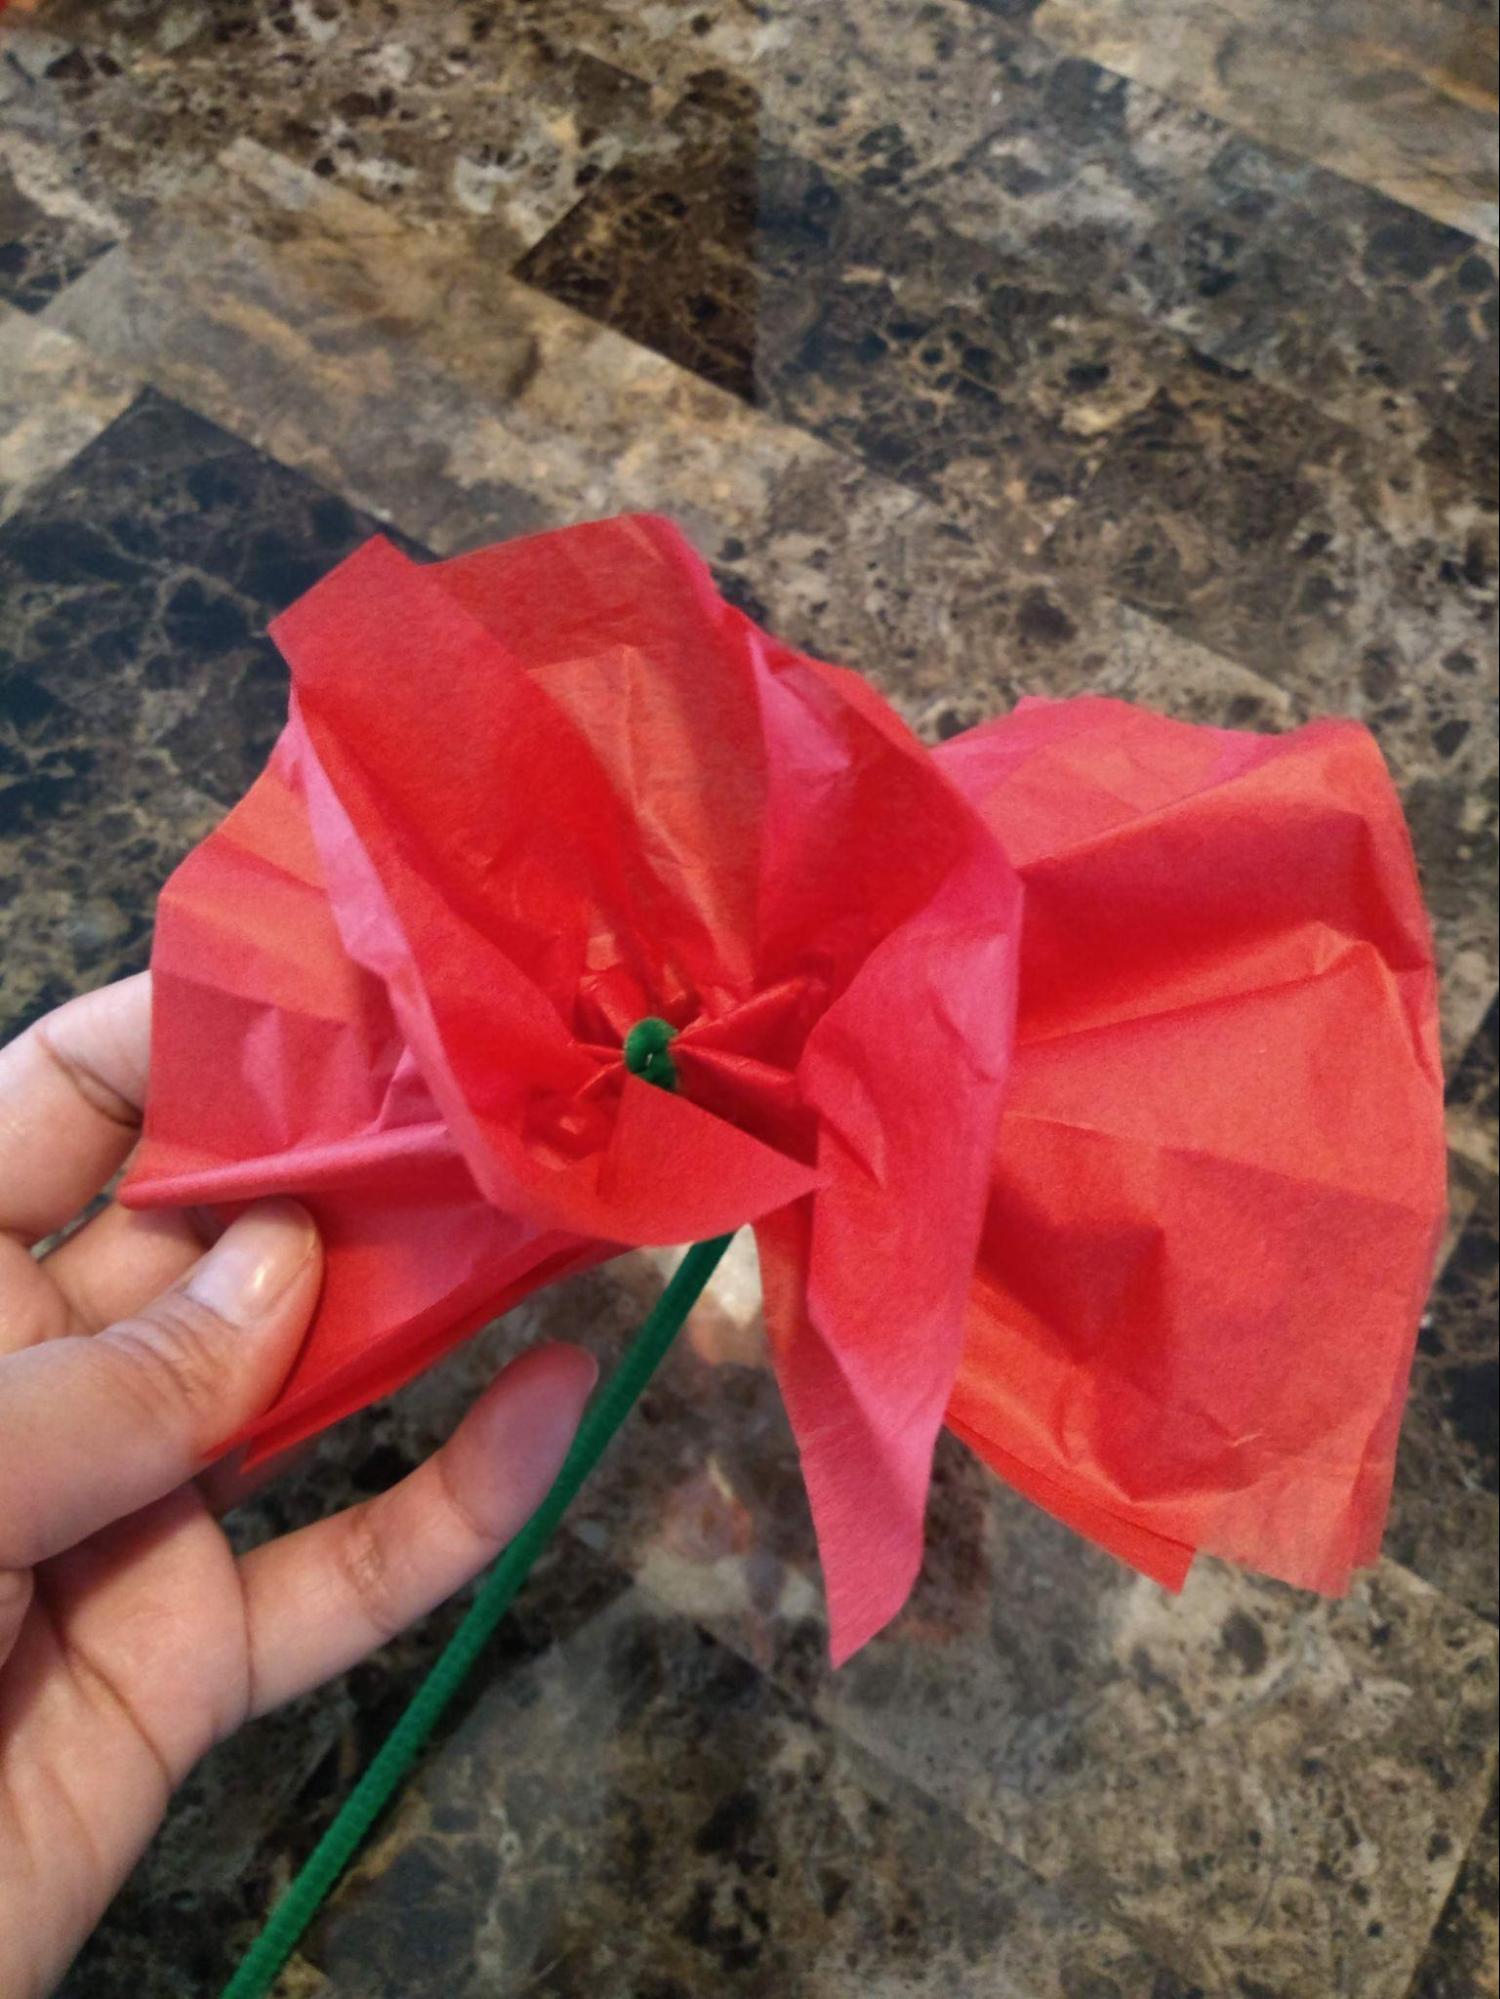
- Starting at the top layer, pull each layer of paper upwards, one at a time. Be very gentle to avoid ripping. Continue until you get to the last one.
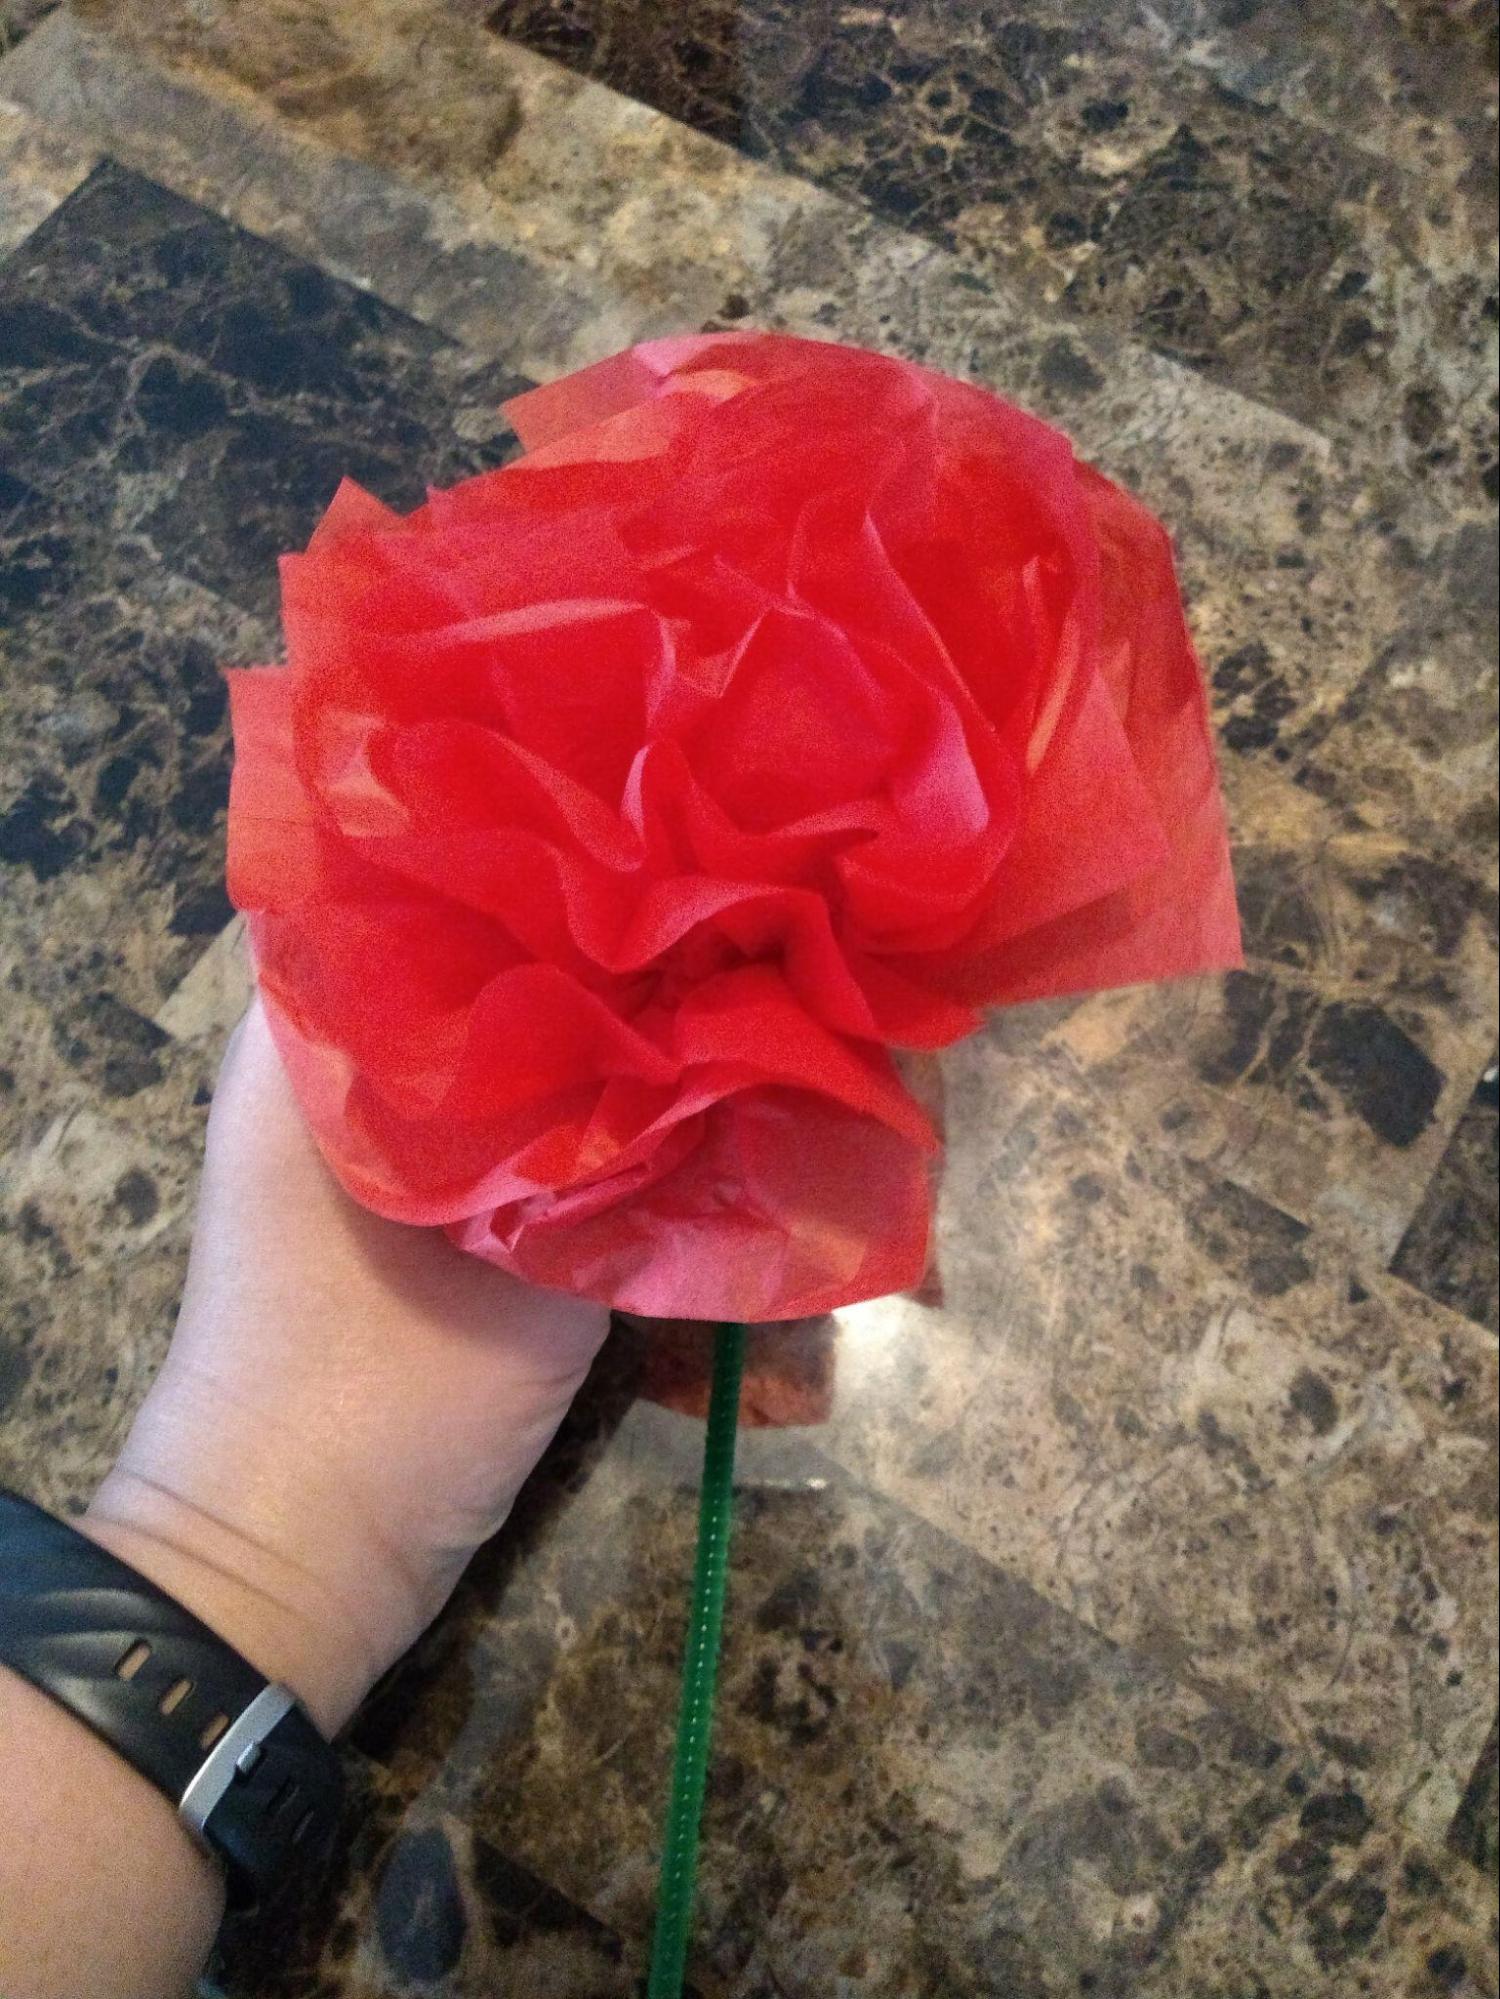
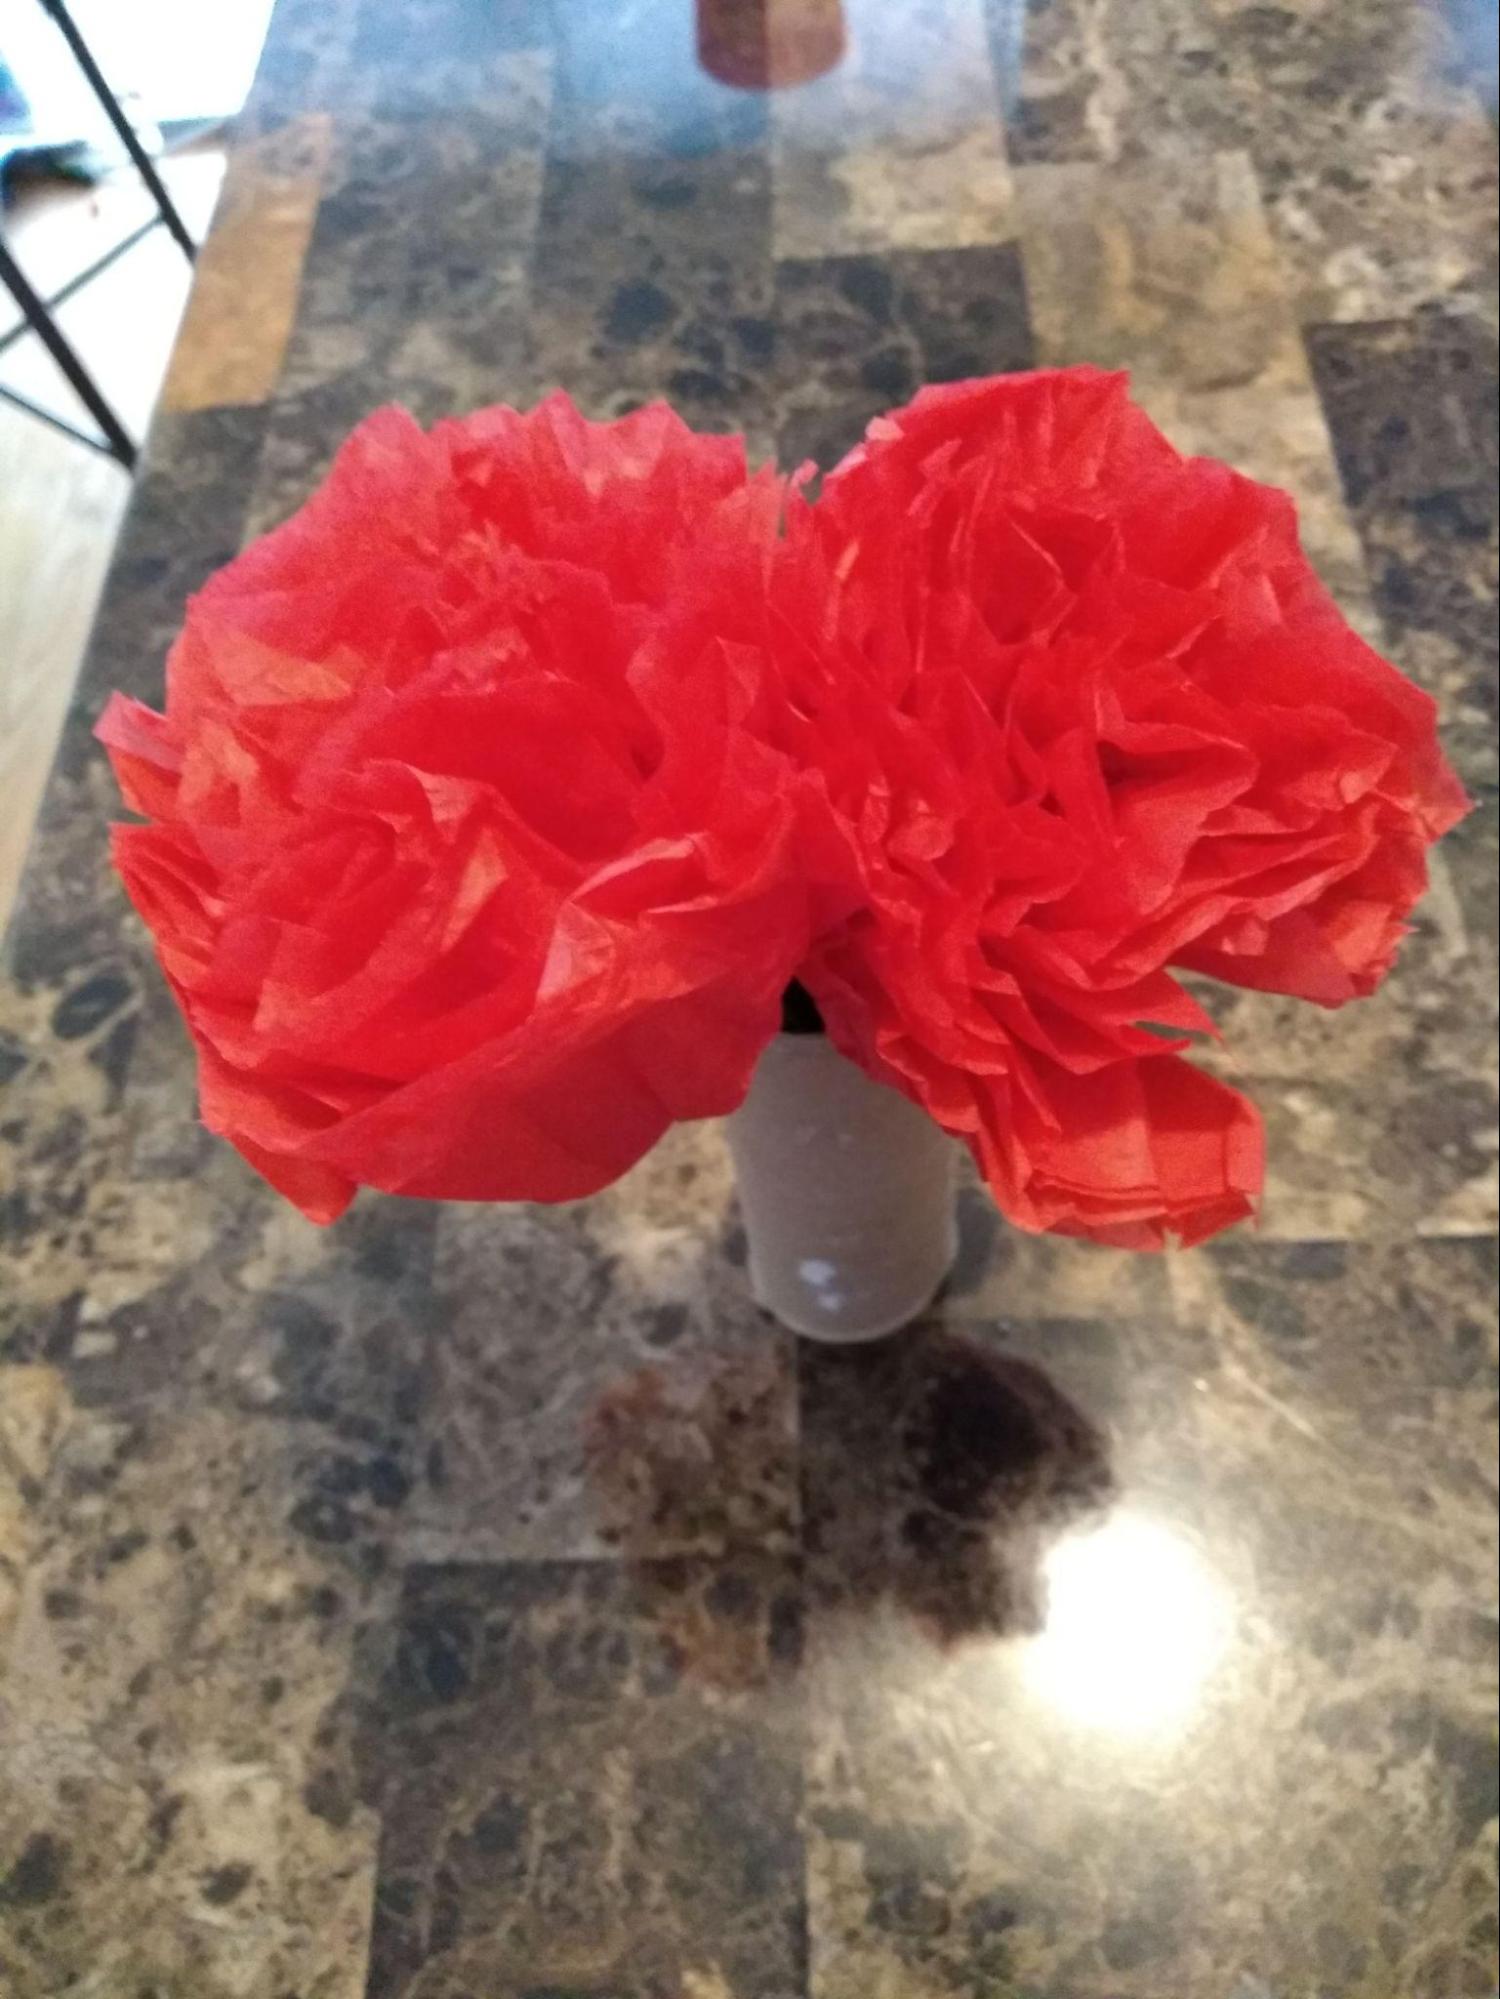
Your flower is ready! Make some more to complete your bouquet.
If you want a different look, try making carnations.
To make into carnations:
- Scrunch the flower.
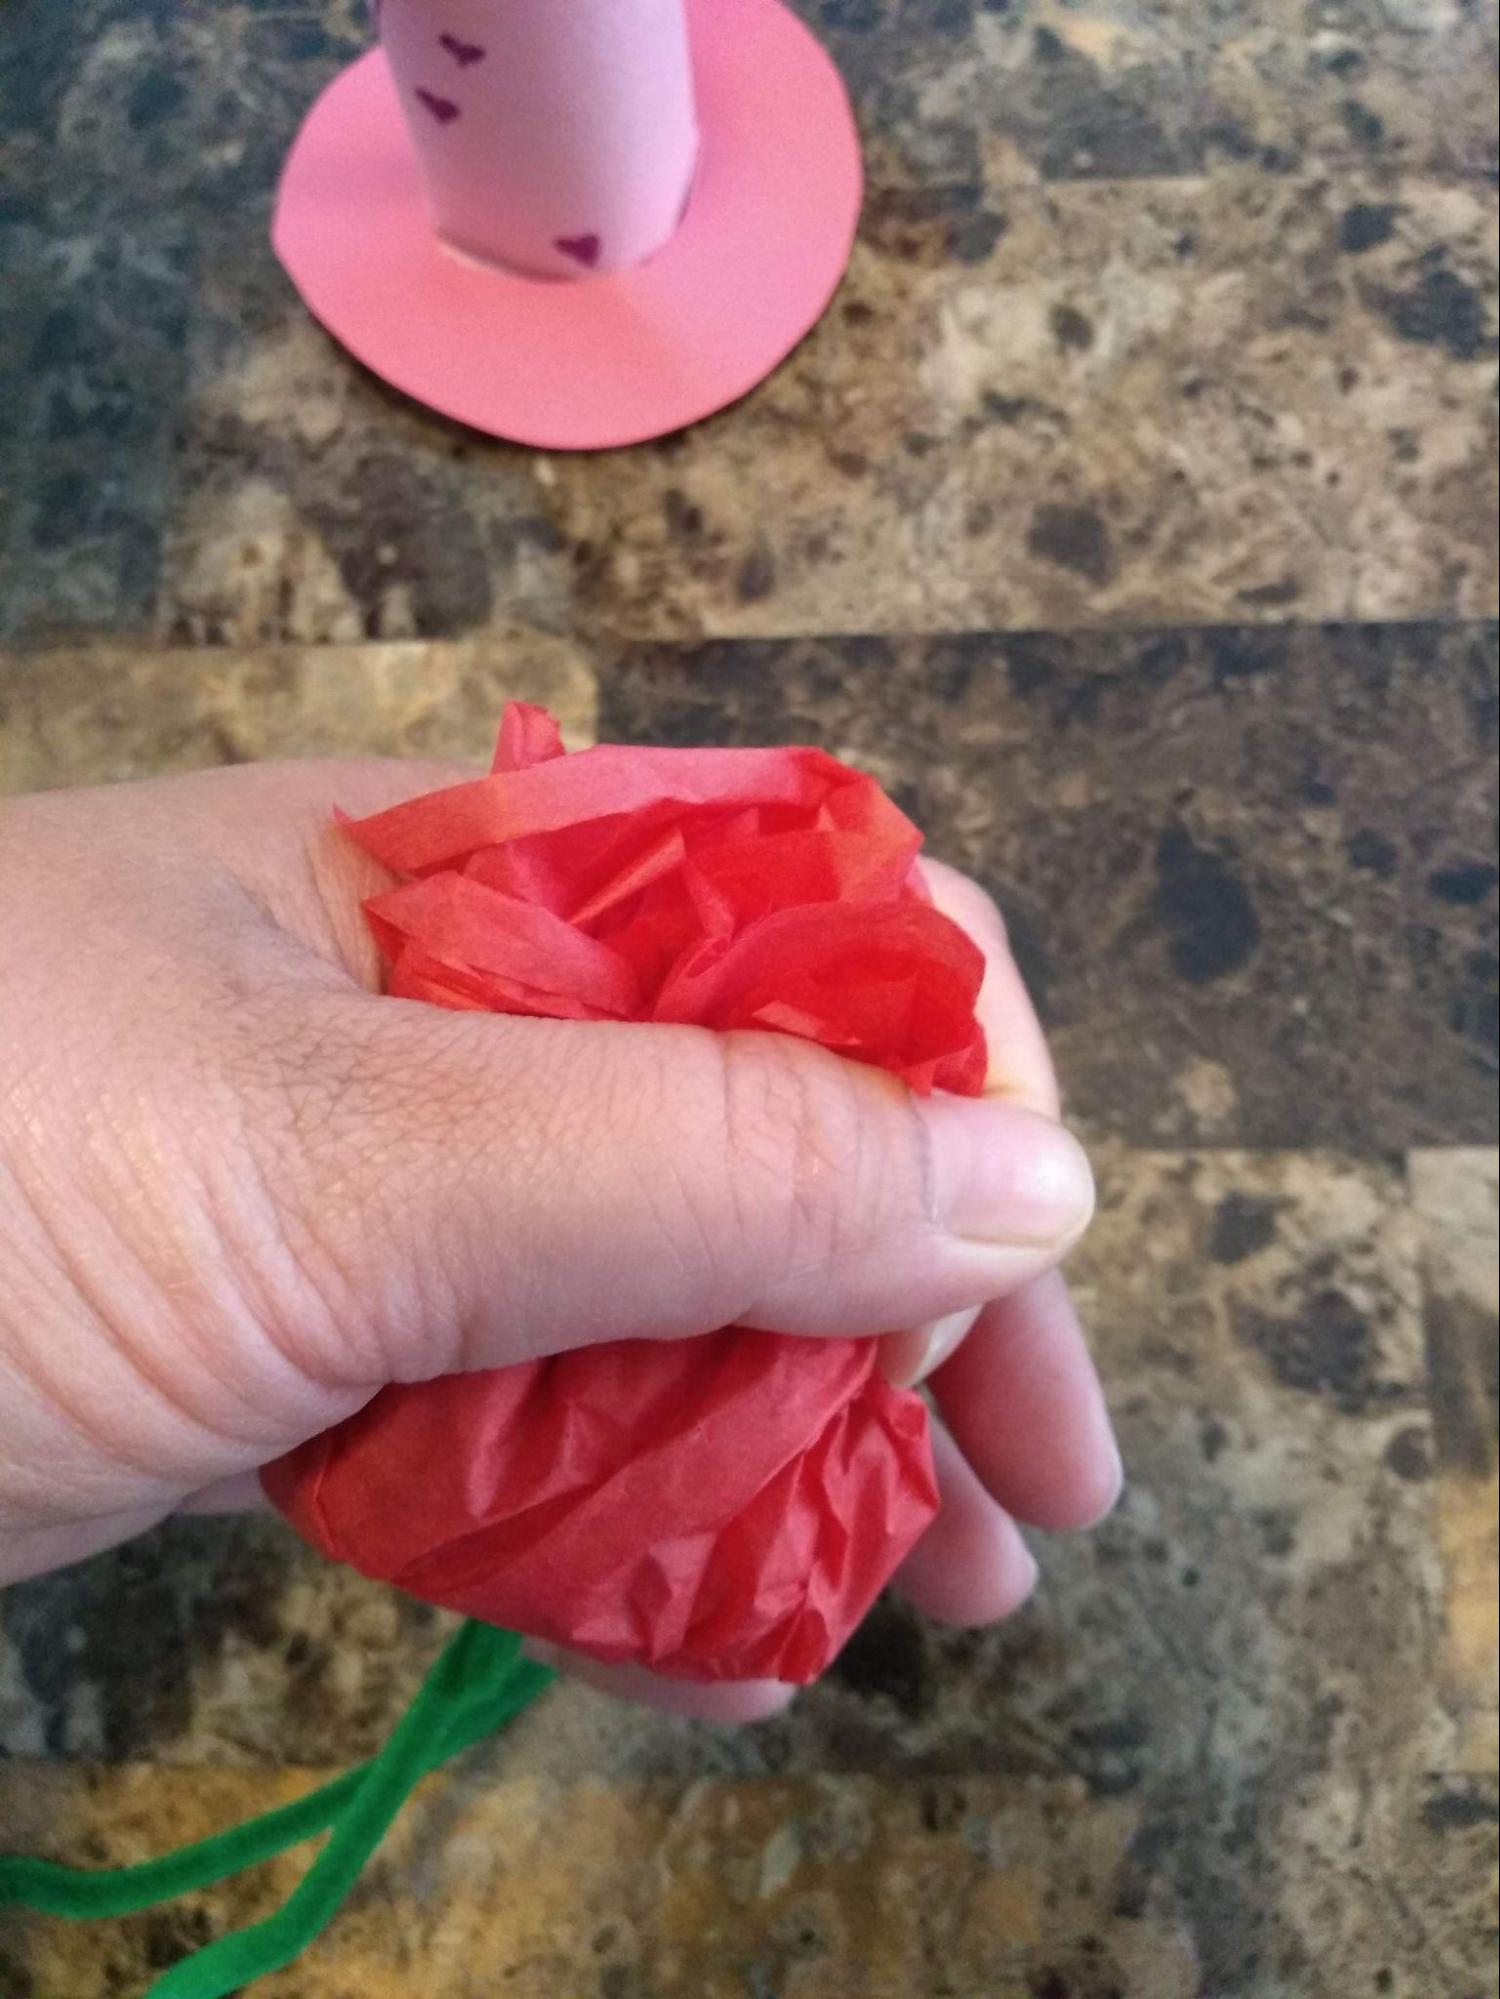
- Cut straight across the top.
- Open up the flower slightly.
Instructions for the Vase:
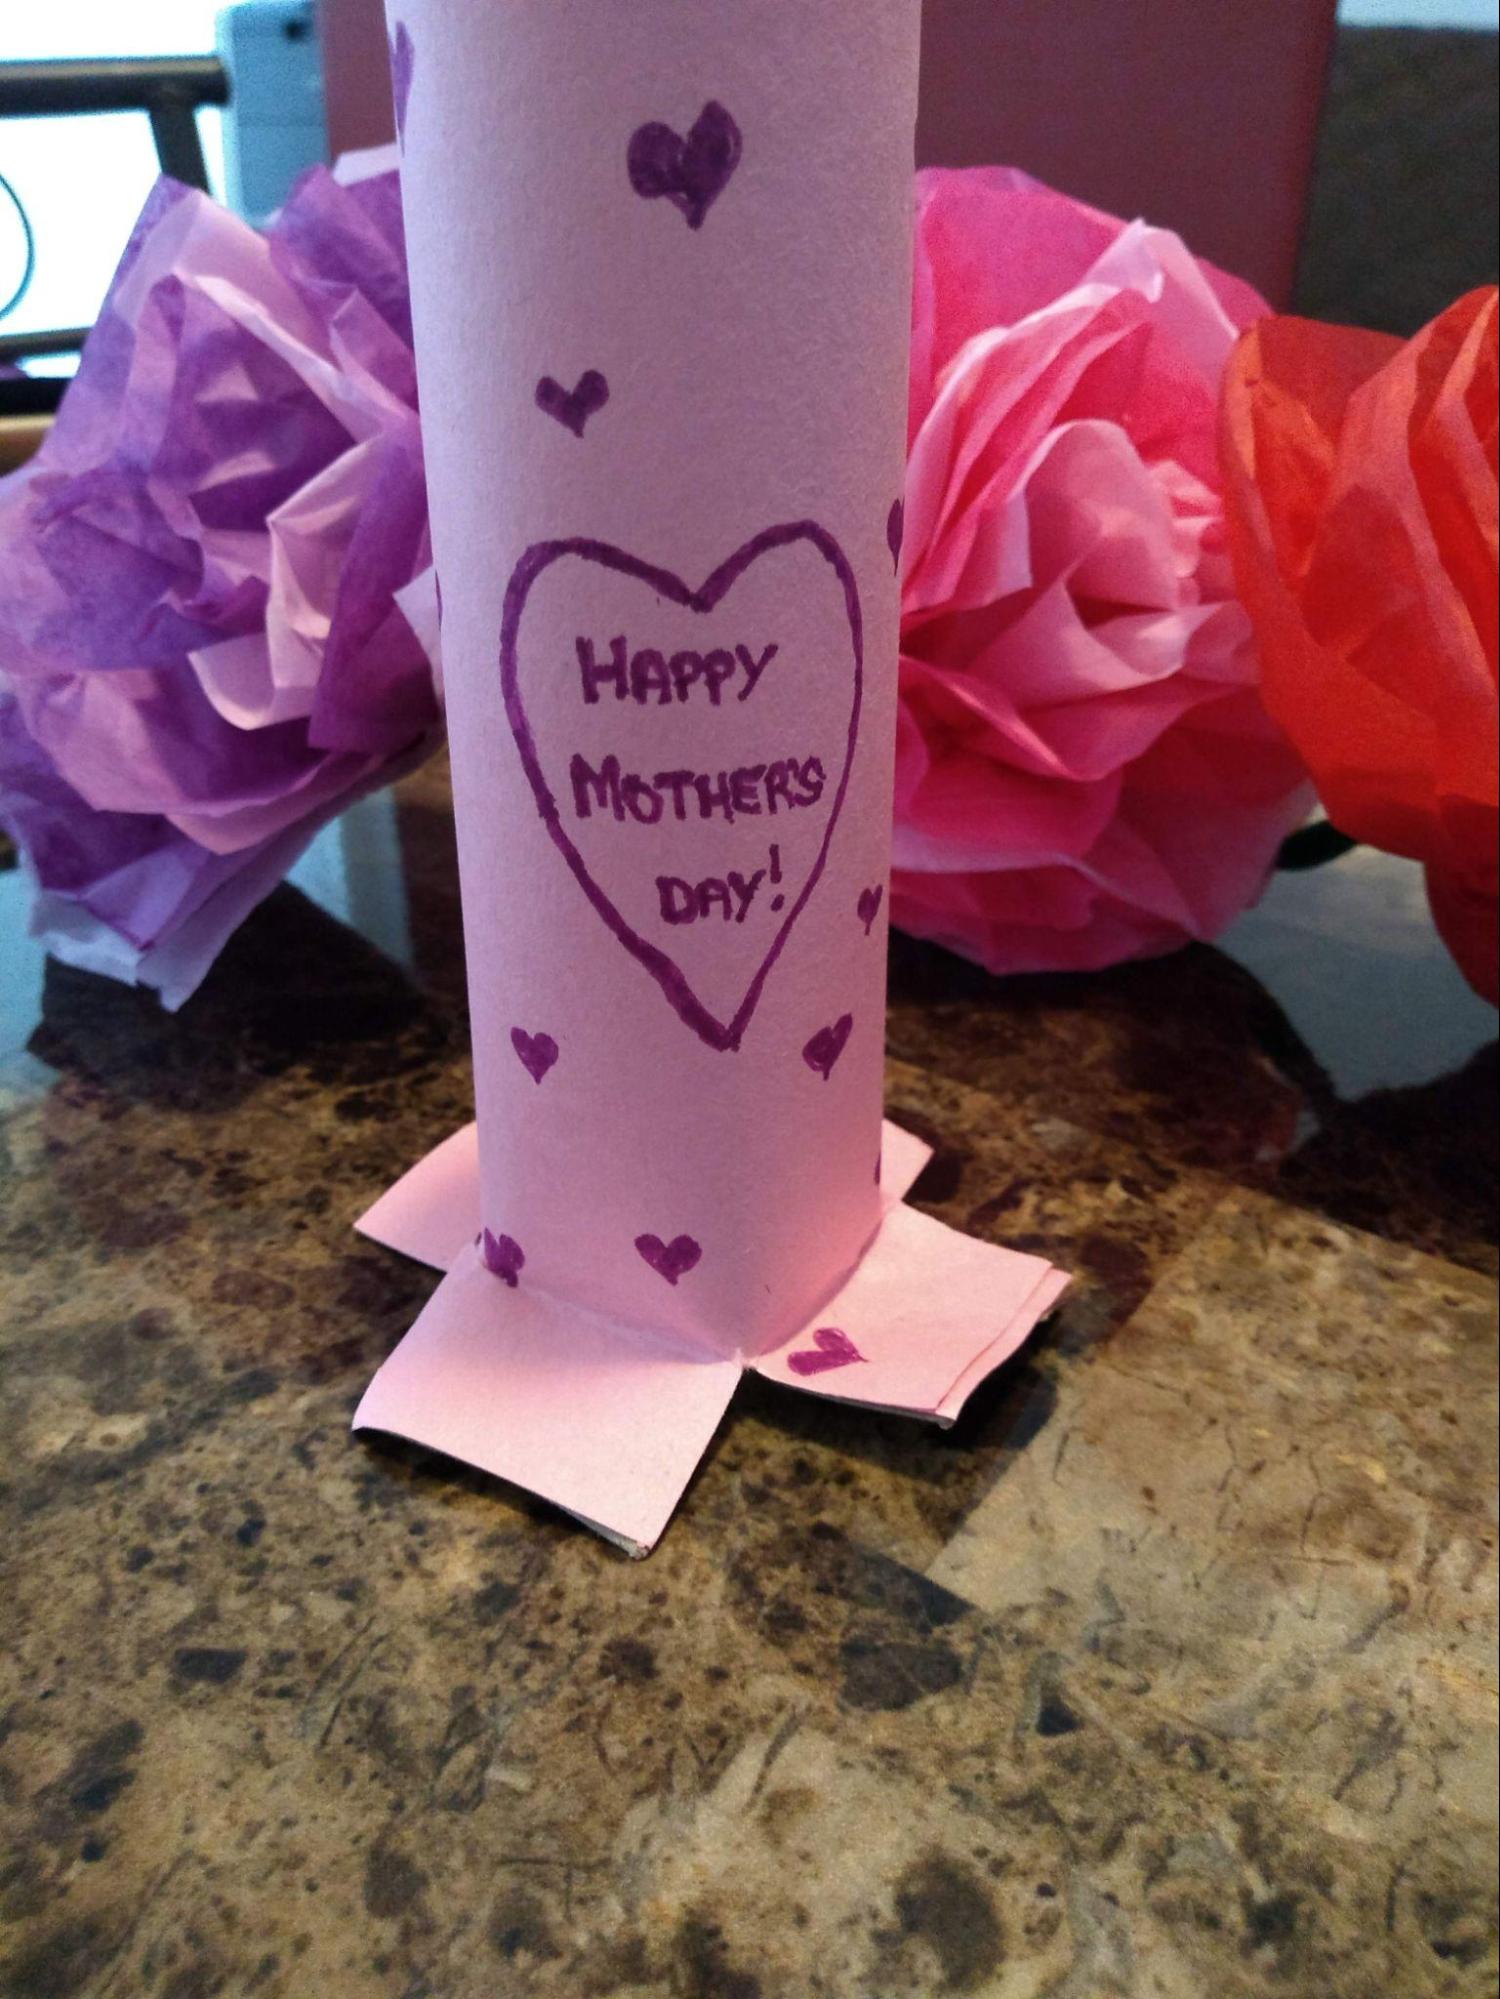
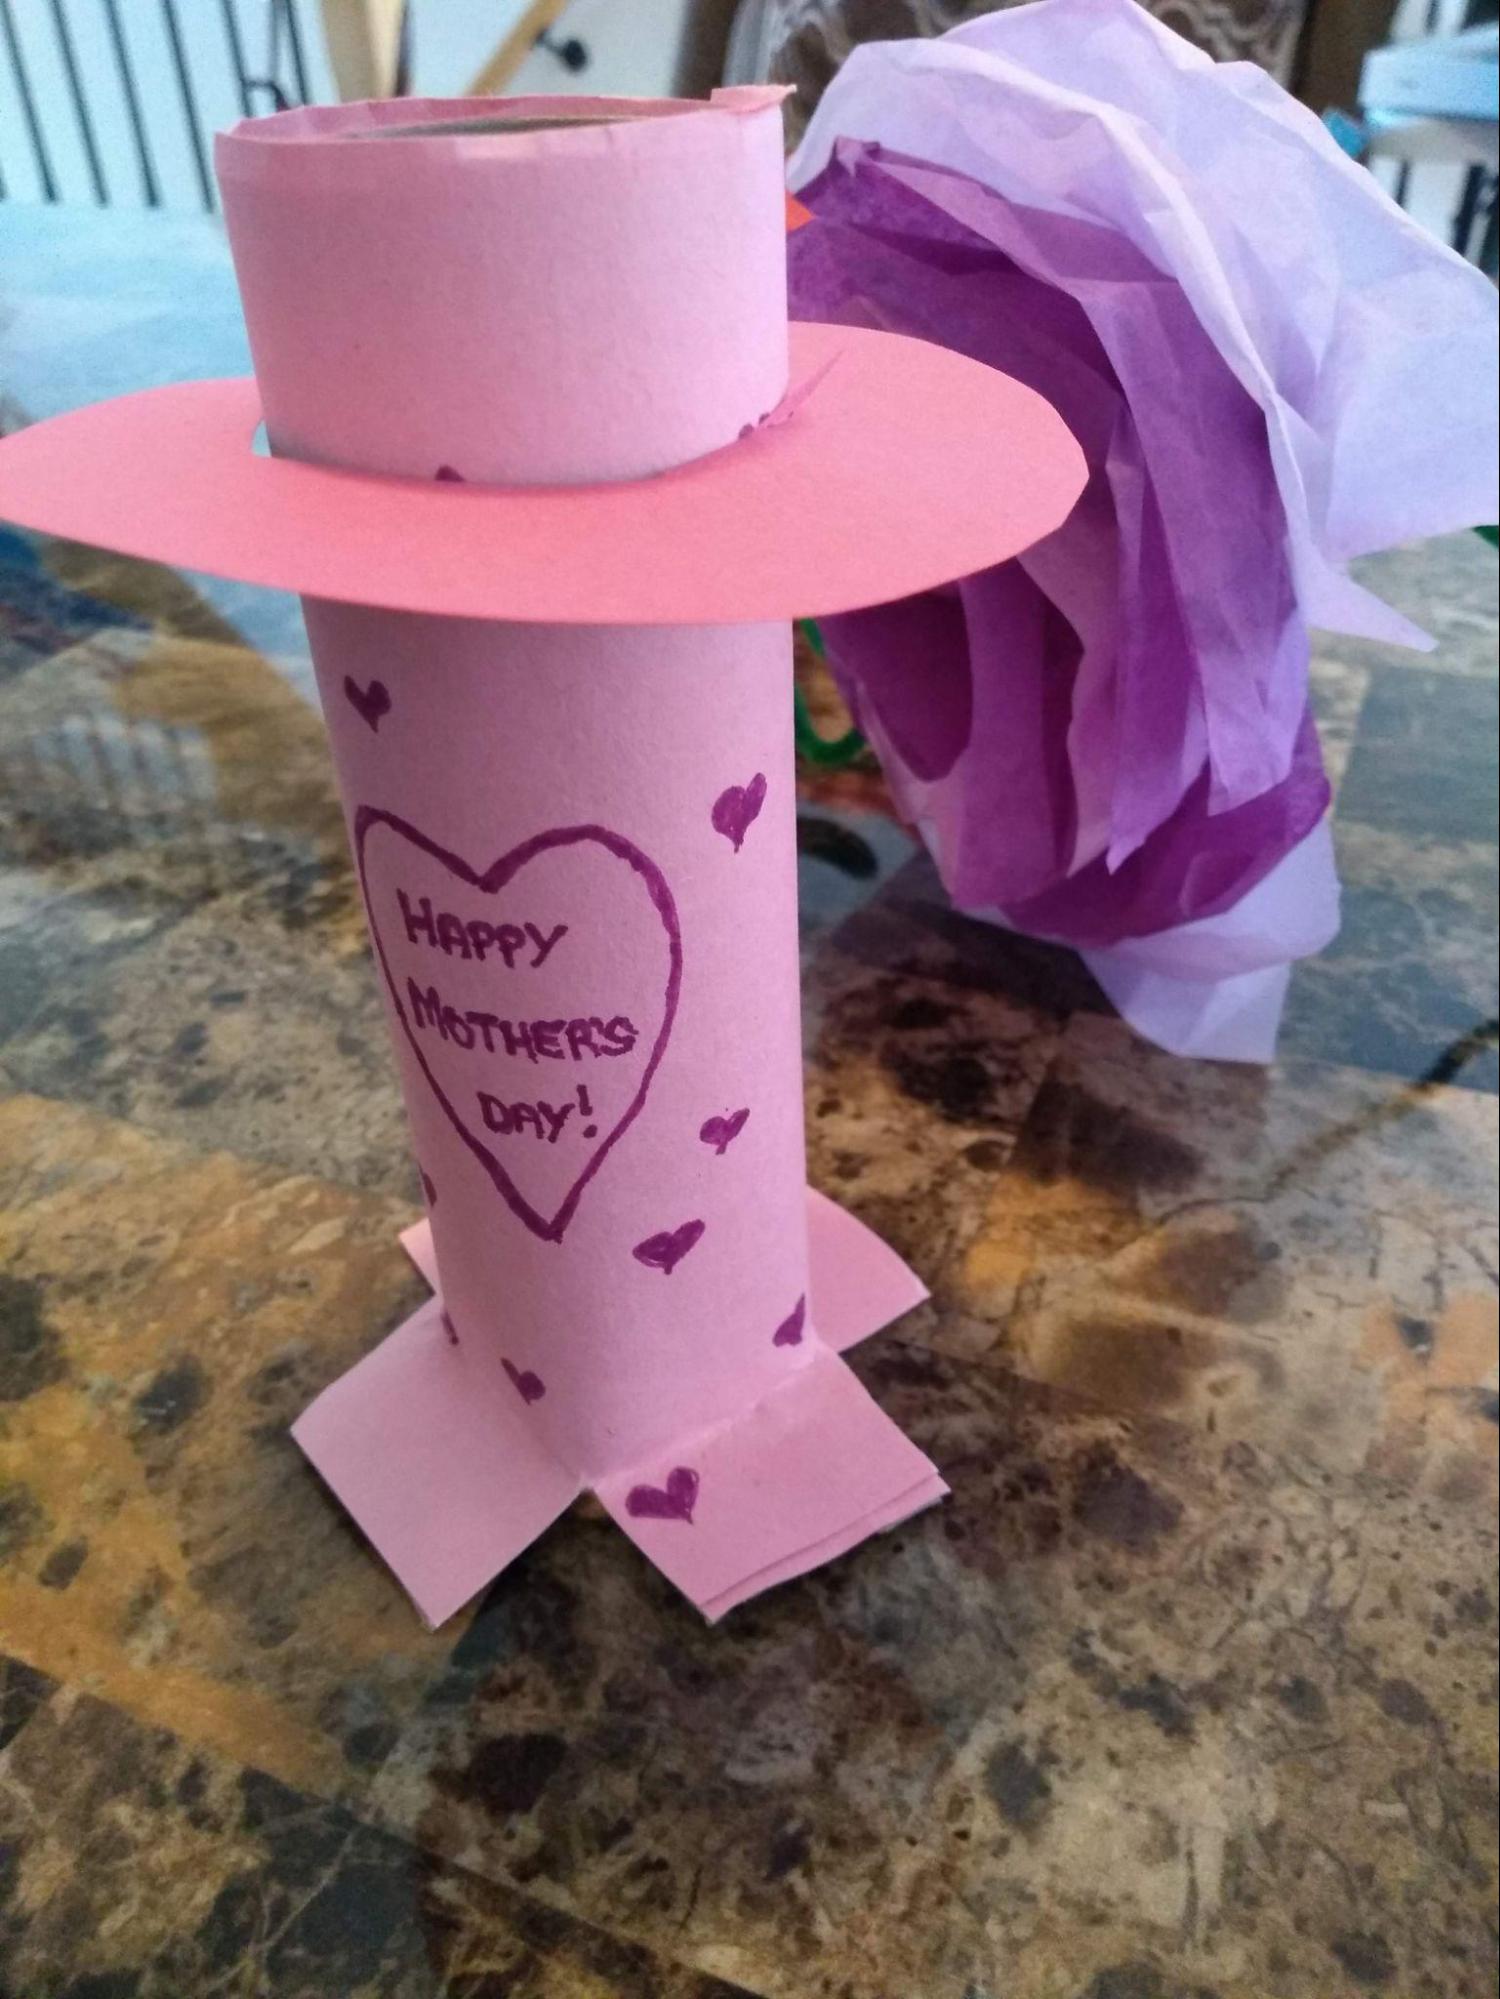
- Wrap the construction paper onto the roll and tape or glue.

- You can add designs with markers, crayons or stickers to your vase.
- Carefully cut four slits almost an inch equally around the bottom of your vase and pull the flaps outward.
- To finish your base for the vase, cut a circle out of construction paper, about 3 ½ inches wide. You can use the same colour as your vase or a different colour if you choose.
- Use the top of your vase to measure another circle in the centre of the circle you just made. Cut out the centre circle.
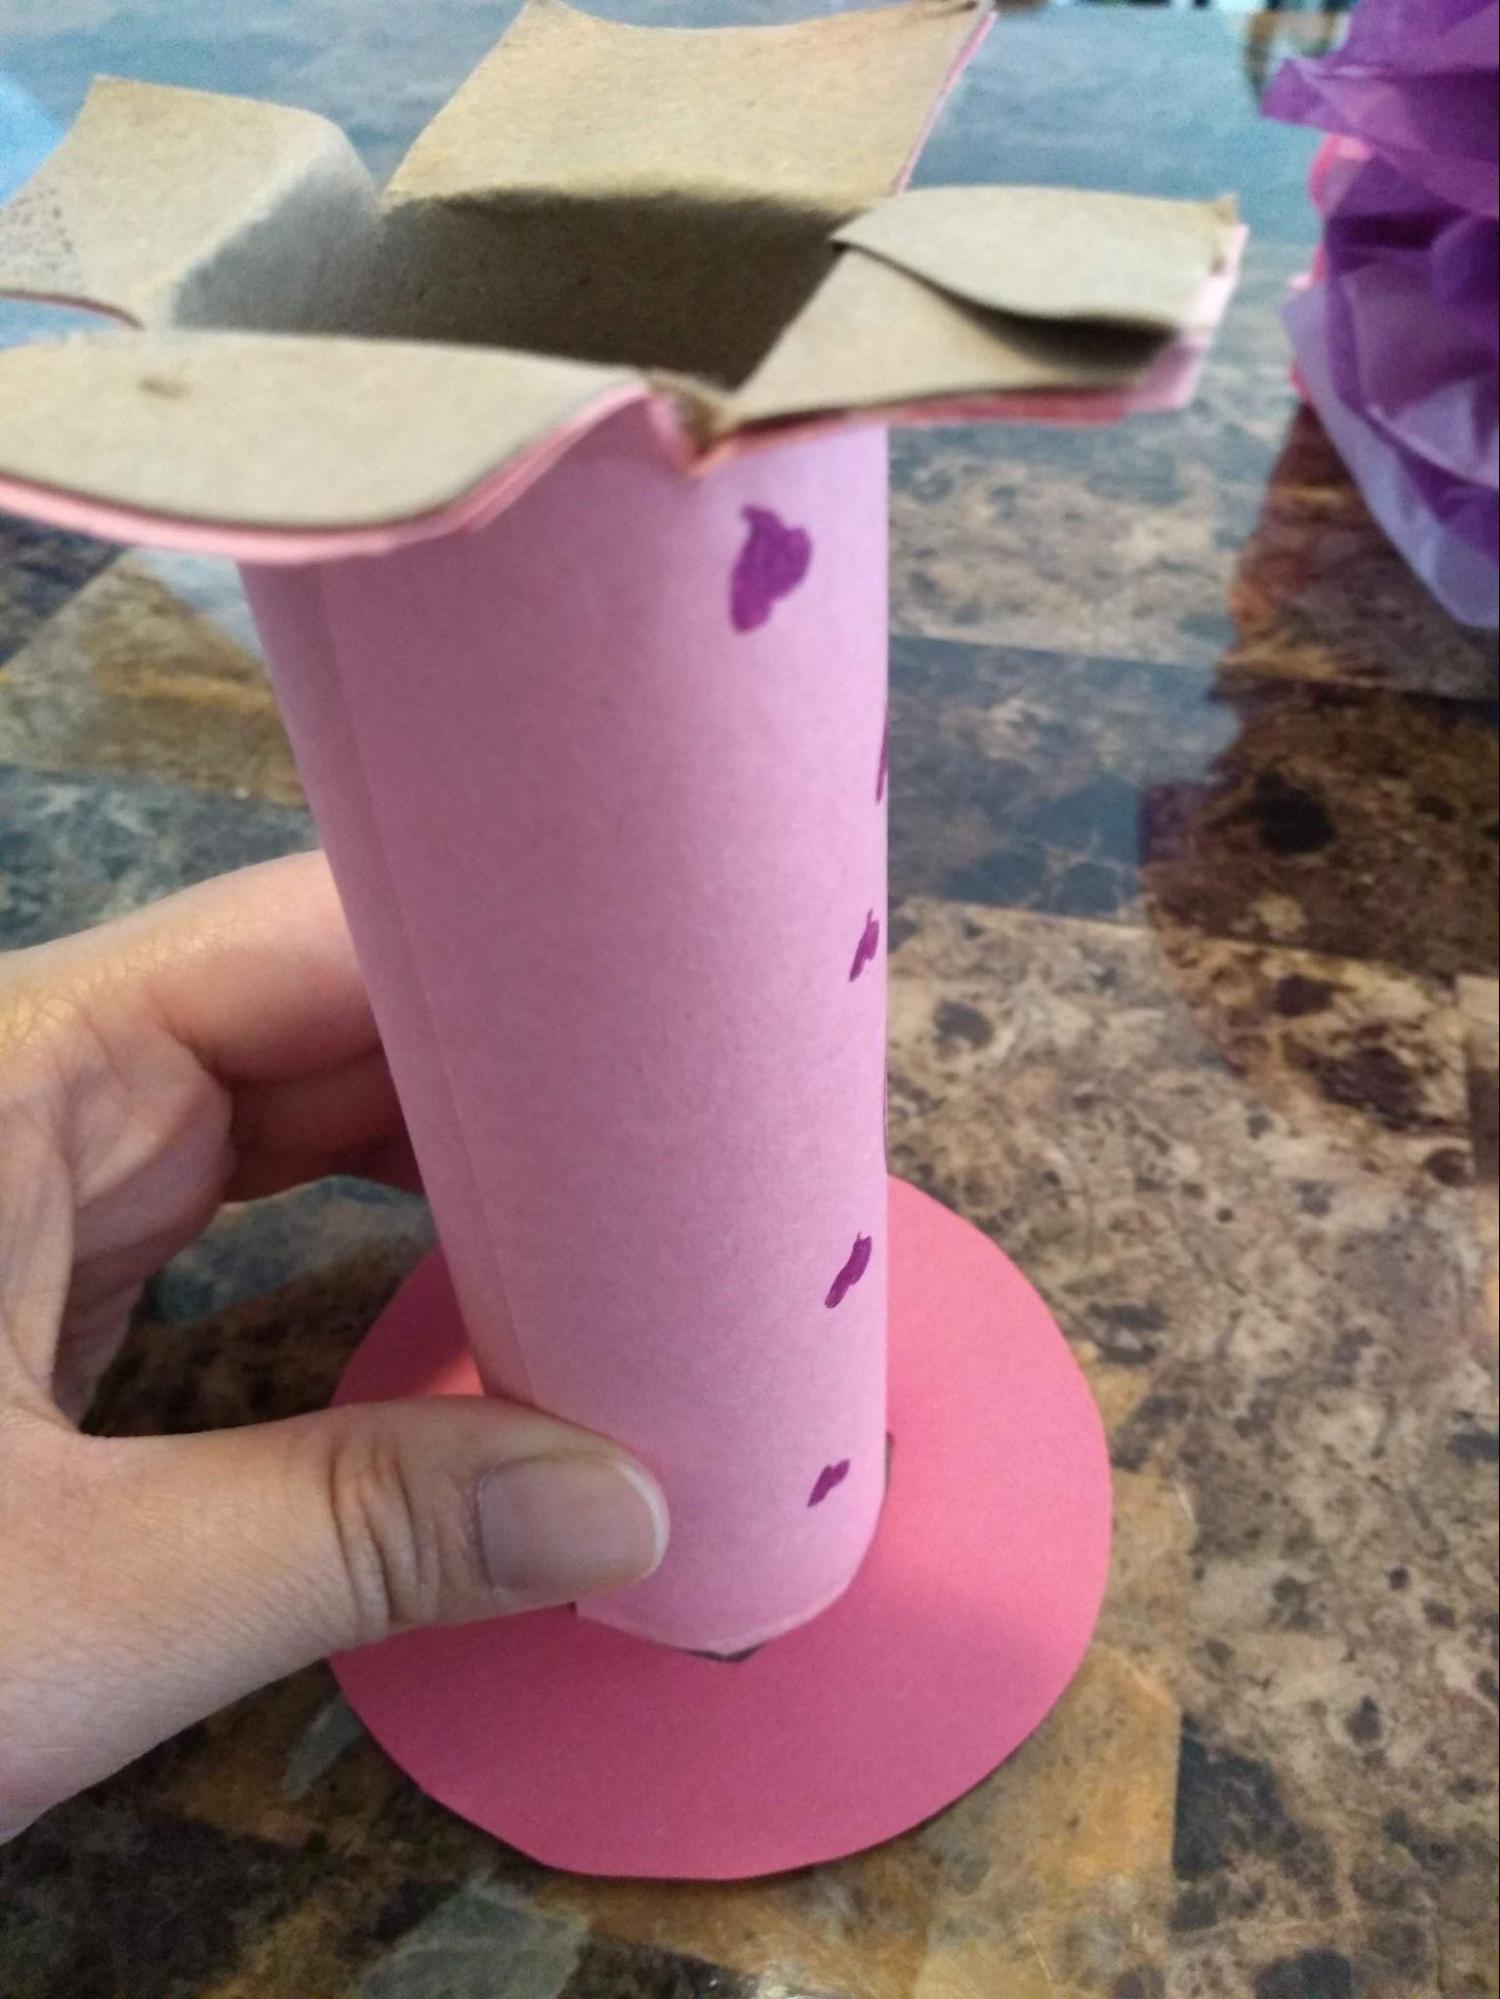
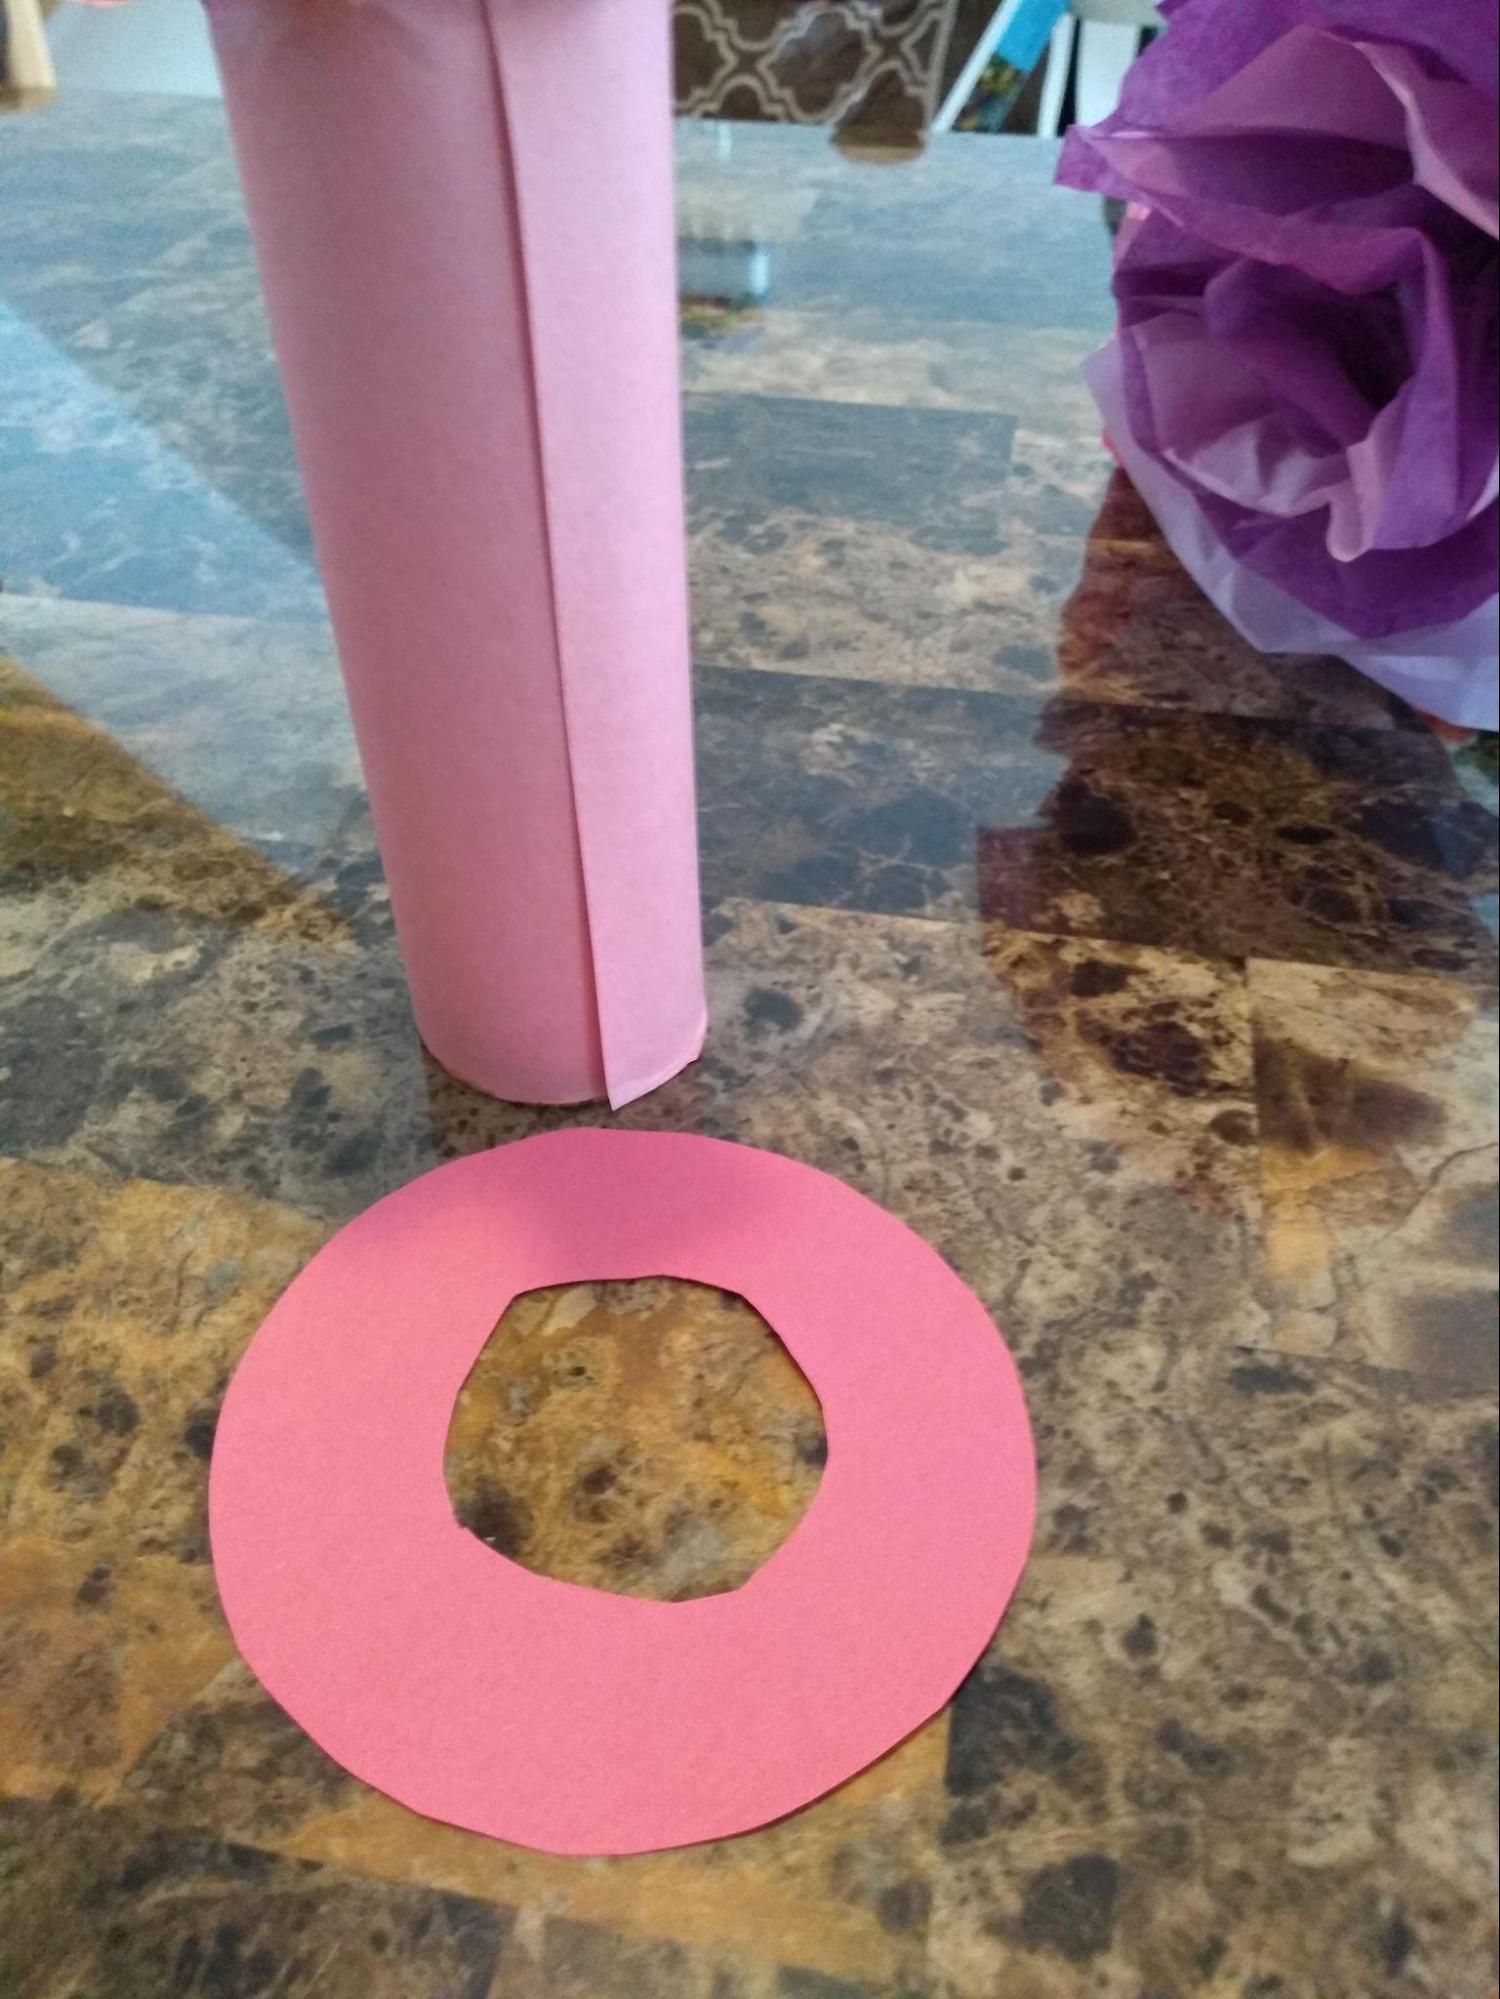
- Slide the circle base from the top to the bottom, covering the four flaps. Glue or tape into place.
- Arrange your flowers in the vase.
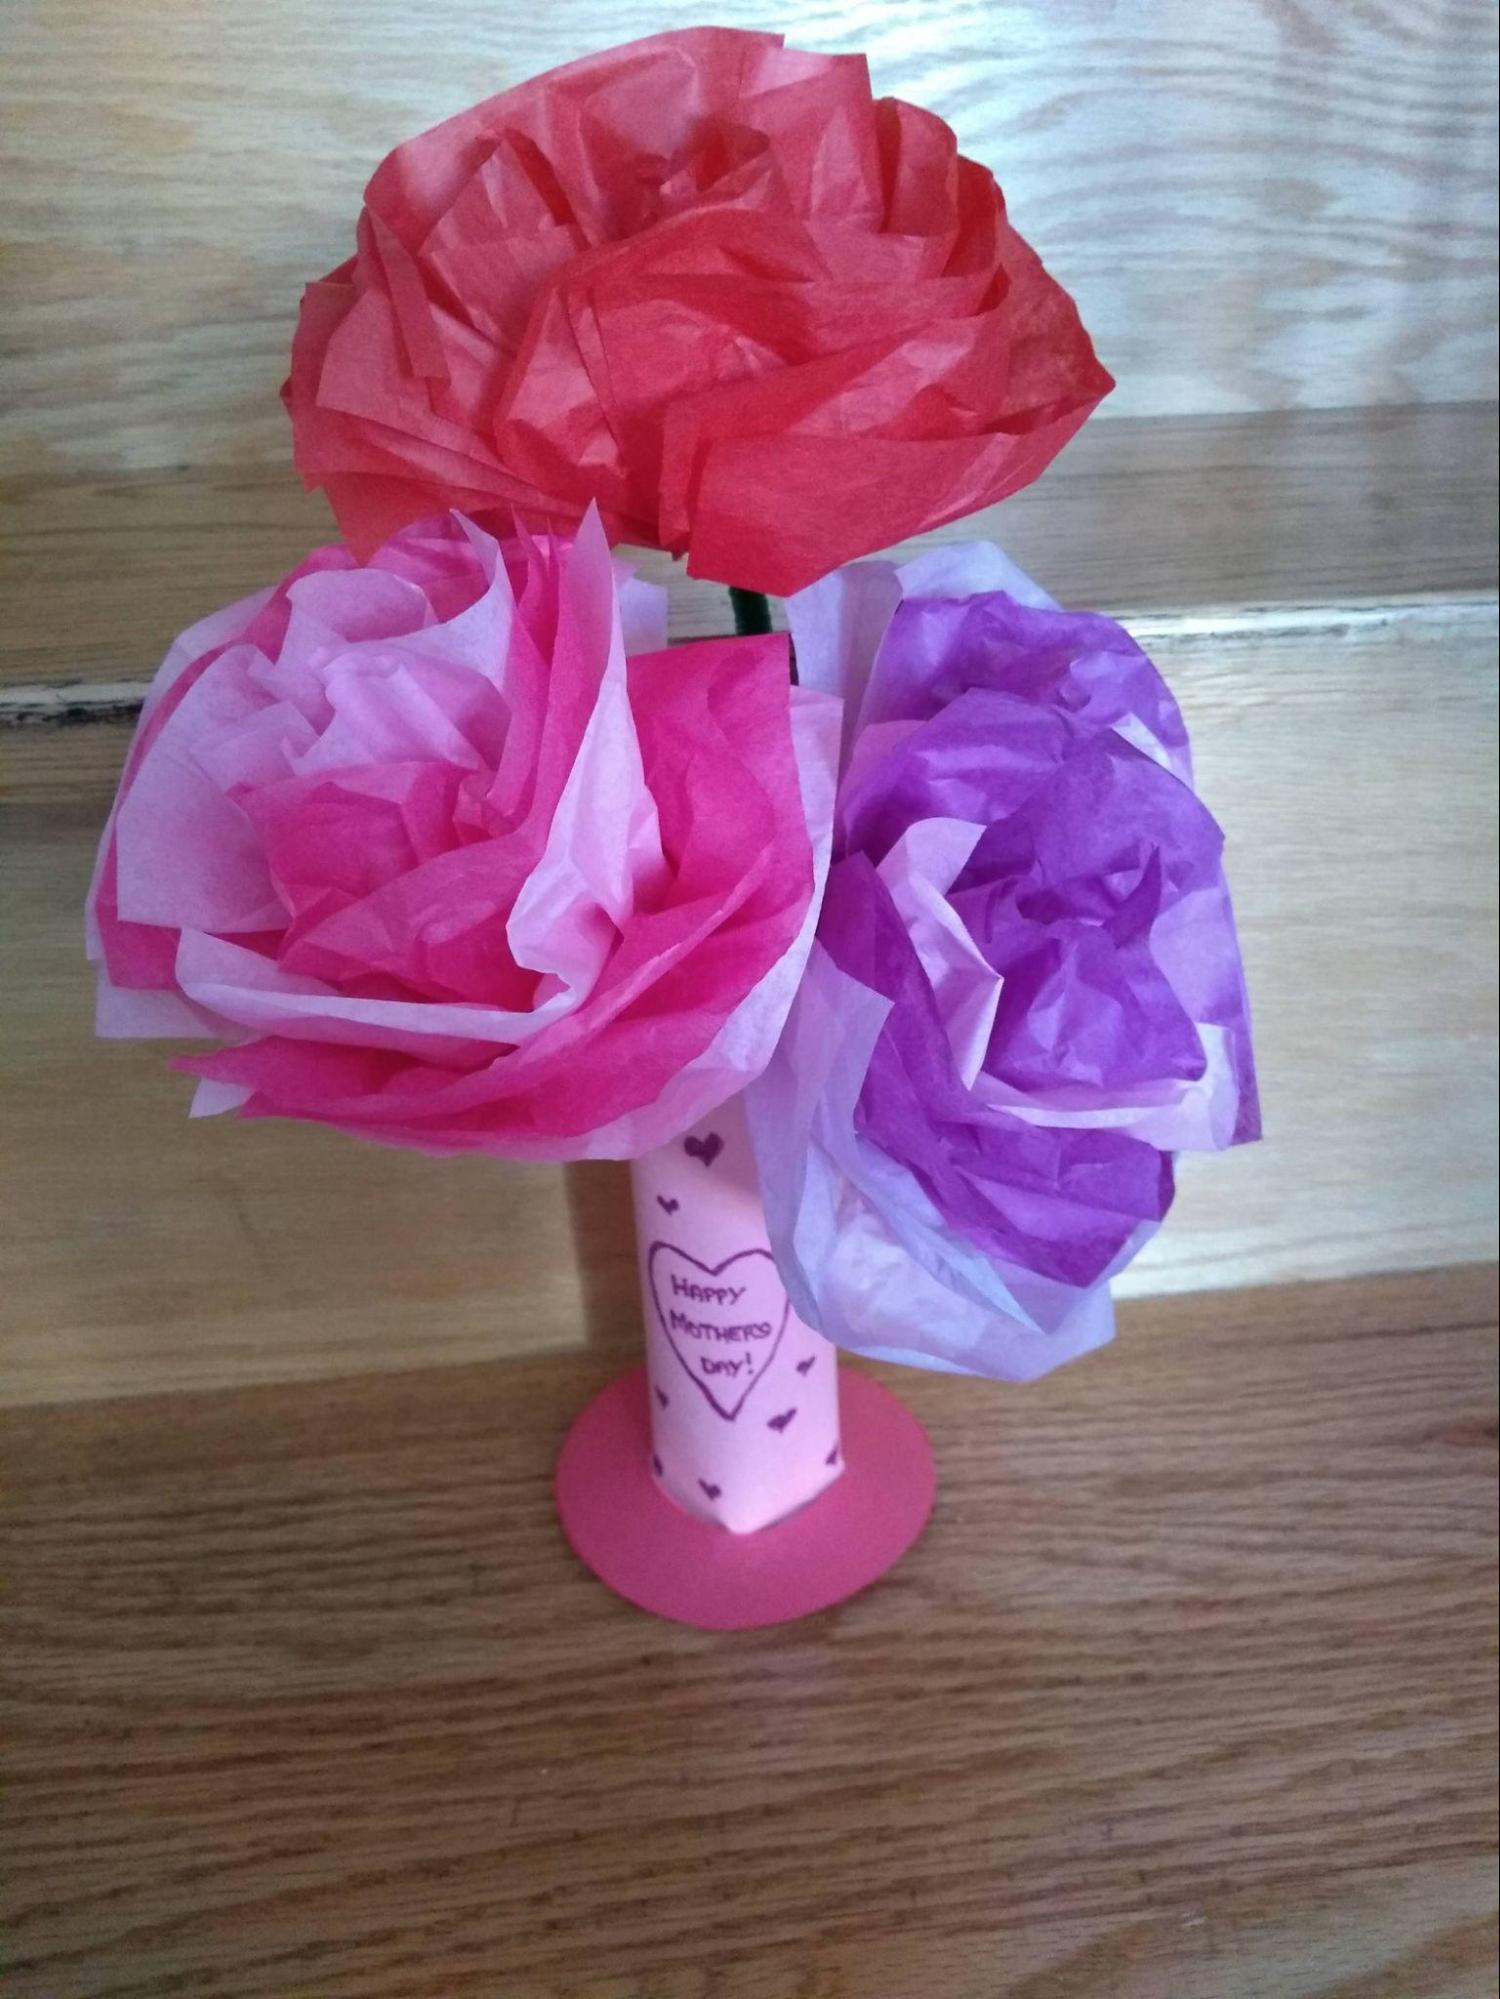
Your gift is ready to go!
This article has been written by homeschooling staff writers of The Canadian Schoolhouse (TCS). Enjoy more of our content from TCS contributors and staff writers by visiting our Front Door page that has content on our monthly theme and links to all our content sections.
![]()
![]()
![]()
![]()


"Train up a child in the way he should go and when he is old, he will not depart from it" (Proverbs 22:6).