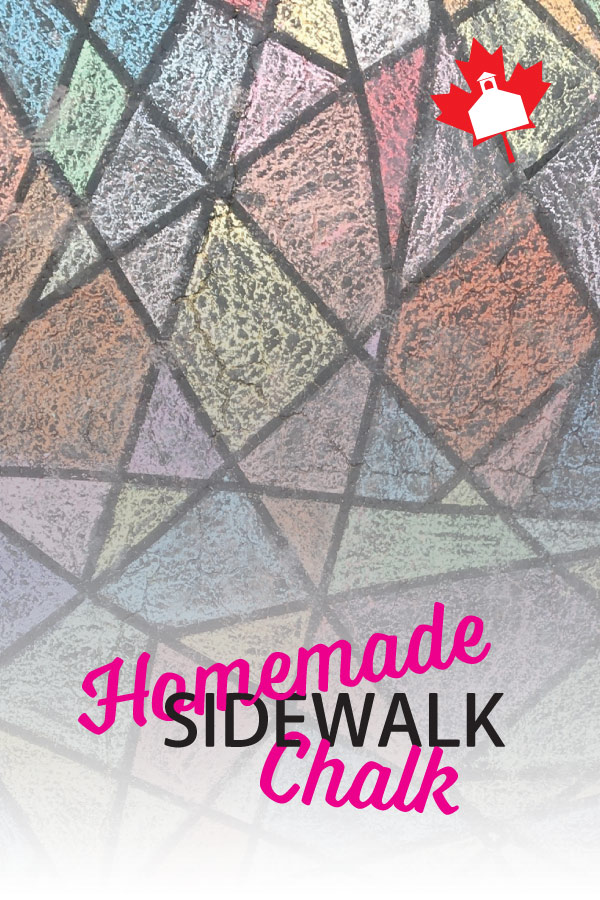
Spring is in the air! And what a beautiful season it is to enter into after a long winter of being cooped up inside. Children always seem so excited to be outside when spring hits and can spend many hours out there. Here is a little DIY craft to do with your children which can encourage them to get outside and make some beautiful artwork with this homemade sidewalk chalk and paint.
Let’s Get Started
The beautiful thing about this recipe is it can be made mostly with materials you already have on hand. Just gather up the ingredients, round up your kids and get started. There is a basic option with common household ingredients, which makes a chalk paint, and another option with materials you may have to shop for, which will give you the solid chalk to hold on to.
Materials:
- Food colouring
- Silicone molds / empty toilet paper rolls or small containers with lids for the chalk paint
- Plaster of paris or cornstarch
- Water
- Plastic spoons
- Measuring cups
Once you have all the items you need, you are ready to begin!
If you have access to plaster of paris or drywall compound you can use that with tempura paints and make a chalk stick. If not, then use the cornstarch, water and food colouring for chalk paint.
Directions for chalk sticks:
- In a two-or-more cup measuring cup mix together ⅓ cup of cold water, 3 tbsp. of tempera paint and ⅔ cup of plaster of paris. If you are using ready-to-use-drywall compound then add enough water after paint to make the mixture like the consistency of pudding).
- Pour into your silicone molds.
- Allow these to cure for about a day. Setting them outside (if it’s hot) can help it cure faster.
- Pop them out of molds.
- Get outside and get creative decorating that pavement!
Directions for chalk paint:
- Fill each cup with equal parts cornstarch and water. (Start with about ⅓ cup of each.)
- Mix well with a plastic spoon until combined.
- Add a few drops of food colouring in each cup, making different colours as desired. You can even use this opportunity to have a little colour mixing lesson with your children.
- Get a few paint brushes and stir the mixture regularly while using.
- Enjoy getting creative in the outdoors!
Troubleshooting:
If your little ones are having trouble mixing in the colour, try mixing the food colouring into the water before adding cornstarch.

As homeschoolers, we are always looking to add a little education into things we do, and this activity is no different! Along with the chat about colour wheels above, this is also an excellent opportunity to chat about starches and their properties that allow them to thicken.
With older children, you could compare the properties of cornstarch with the properties of plaster of paris as well as the different uses for them. Using this information, you can decide which material you would rather use in your sidewalk chalk.
Sidewalk chalk is a great way to make spelling words, dictation and other written exercises more fun. Take your chalk and your spelling list outside and get some vitamin D while practicing! Kids complain less when they’re chalking!
We would love to see photos of your children drawing with their homemade sidewalk chalk! Pop over to our Facebook page and share your DIY creations!
This article has been written by homeschooling staff writers of The Canadian Schoolhouse (TCS). Enjoy more of our content from TCS contributors and staff writers by visiting our Front Door page that has content on our monthly theme and links to all our content sections.


