


Culturing for Science Class: Apple Cider Vinegar


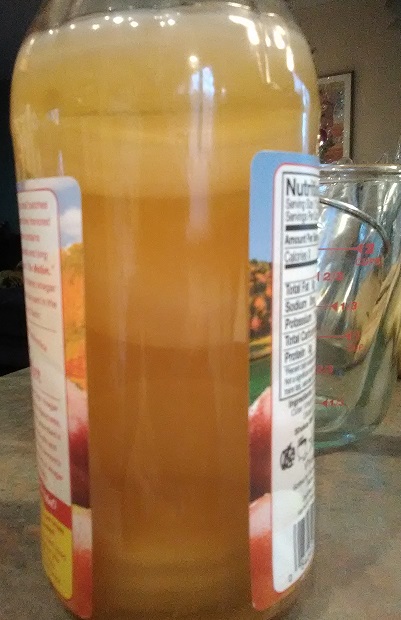
One day, I pulled a bottle of apple cider vinegar out of my kitchen cabinet (the kind that says “with the mother” on the label) and noticed that the small pieces of mother had formed into a solid that resembled a SCOBY. A SCOBY is a symbiotic colony of bacteria and yeast that is used to turn tea into a fermented drink called kombucha. As time went on, more and more mothers grew in the bottle. I showed them to my children, and they were intrigued. It ended up looking like this:
Having made kombucha before, I was curious if we could use them to make our own batch of apple cider vinegar, so I did some research online. I discovered there are several methods that you can use, and most don’t require a solid vinegar mother. I decided to make ours from apple scraps.
The steps that we followed were:
- First, wash and peel 10–20 organic apples. The amount you will need depends on the size of the apples. The variety of apples doesn’t matter, although the taste of your vinegar will be affected by the one that you choose. We used the apples to make a pot of applesauce, saving the peels and cores, with the seeds removed.
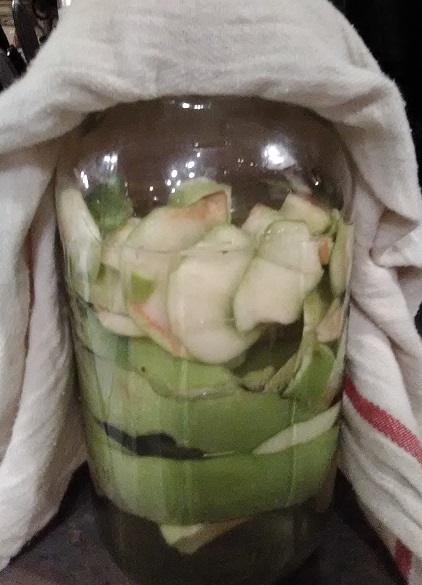
- Put the scraps in a sterilized, half-gallon mason jar. The jar should be filled most of the way.
- Next, add two tablespoons of sugar to some water in a second jar. You can replace the sugar with honey, if you prefer. If you do not have well water, you should use filtered water. Add two tablespoons of store-bought apple cider vinegar (with the mother) to the mixture to help get the fermentation process started. Cap the jar and shake well. Pour the mixture into the jar of scraps. Add more water, if needed, to keep the apples submerged. You can place something glass or ceramic on top of the apples to keep them beneath the surface of the water.
- Cover with the jar with a tea towel or cheesecloth and secure with a rubber band. Put it in a cool, dark place, such as a kitchen cabinet.
- Keep the jar in the cupboard and stir with a wooden spoon daily (as metal can react with the yeast, and change the taste of the final product). If desired, you can scrape off any of the froth that will form on the top and discard it.
- After two weeks, strain the apple scraps out.
- Pour the liquid into a clean half-gallon jar, and cover it with a tea towel and rubber band again. If you have a solid mother, you can add it to the jar now. This step isn’t necessary, as the ACV you’ve already added will do the same job, but it may speed the fermentation process up.
- Return to a cabinet for about two weeks to a month. The warmer the temperature is, the sooner it will ferment. Stir it every few days. After the first couple of weeks have passed, you can periodically taste test your vinegar to see if it is ready yet.
- When you are satisfied with your vinegar, remove the solid mother and pour your liquid into the jar you plan to keep it in.
We enjoyed learning about how apple cider vinegar is made. If you use ACV in your home, I encourage you to give it a try!

Heather Eberlin is a married mother of four children, ranging in age from seven to twenty-six. She is currently homeschooling her two youngest children and has felt called to share her journey in order to encourage others. She is an amateur gardener who is amazed at the things that God’s creation reveals when you take the time to pay attention to it. You can follow her at Musings from My Garden or download her free Homeschool Organizational Forms here.
![]()


SHARE TOS ON YOUR PAGE!
GRAB OUR BUTTON HERE-
![]()